Spray Techniques- Watercolor Basics
In today's tutorial, we're covering basic Spray techniques! From water in a spray bottle to dye-based inks to mixing your own custom watercolor sprays, there are loads of ways to utilize spray techniques in your art and illustration!


This post is part of my Watercolor Basics series, a series designed to get you painting! These simple tutorials and reviews explain the nuts and bolts of watercolor illustration and watercolor for comic art.
Some of these techniques demonstrated in today's post were covered or touched upon in All About Brusho, which I highly recommend you read if you haven't yet!
Utilizing sprays (both diluted watercolor and just plain water) can be a fun way to add an element of freedom and chaos to your watercolor work. There's numerous ways you can approach this technique, and it's great for experimentation or loosening up overly tight pieces.
Water Reactive Inks:
How it works:
Inks are applied to page (either as random swatches, like in the below example, or in a tighter render, and water is sprayed on the ink from a spraybottle or flicked from a brush. This reactivates the dyes and causes them to run into one another, giving a mottled, splatter effect depending on the amount of water used.
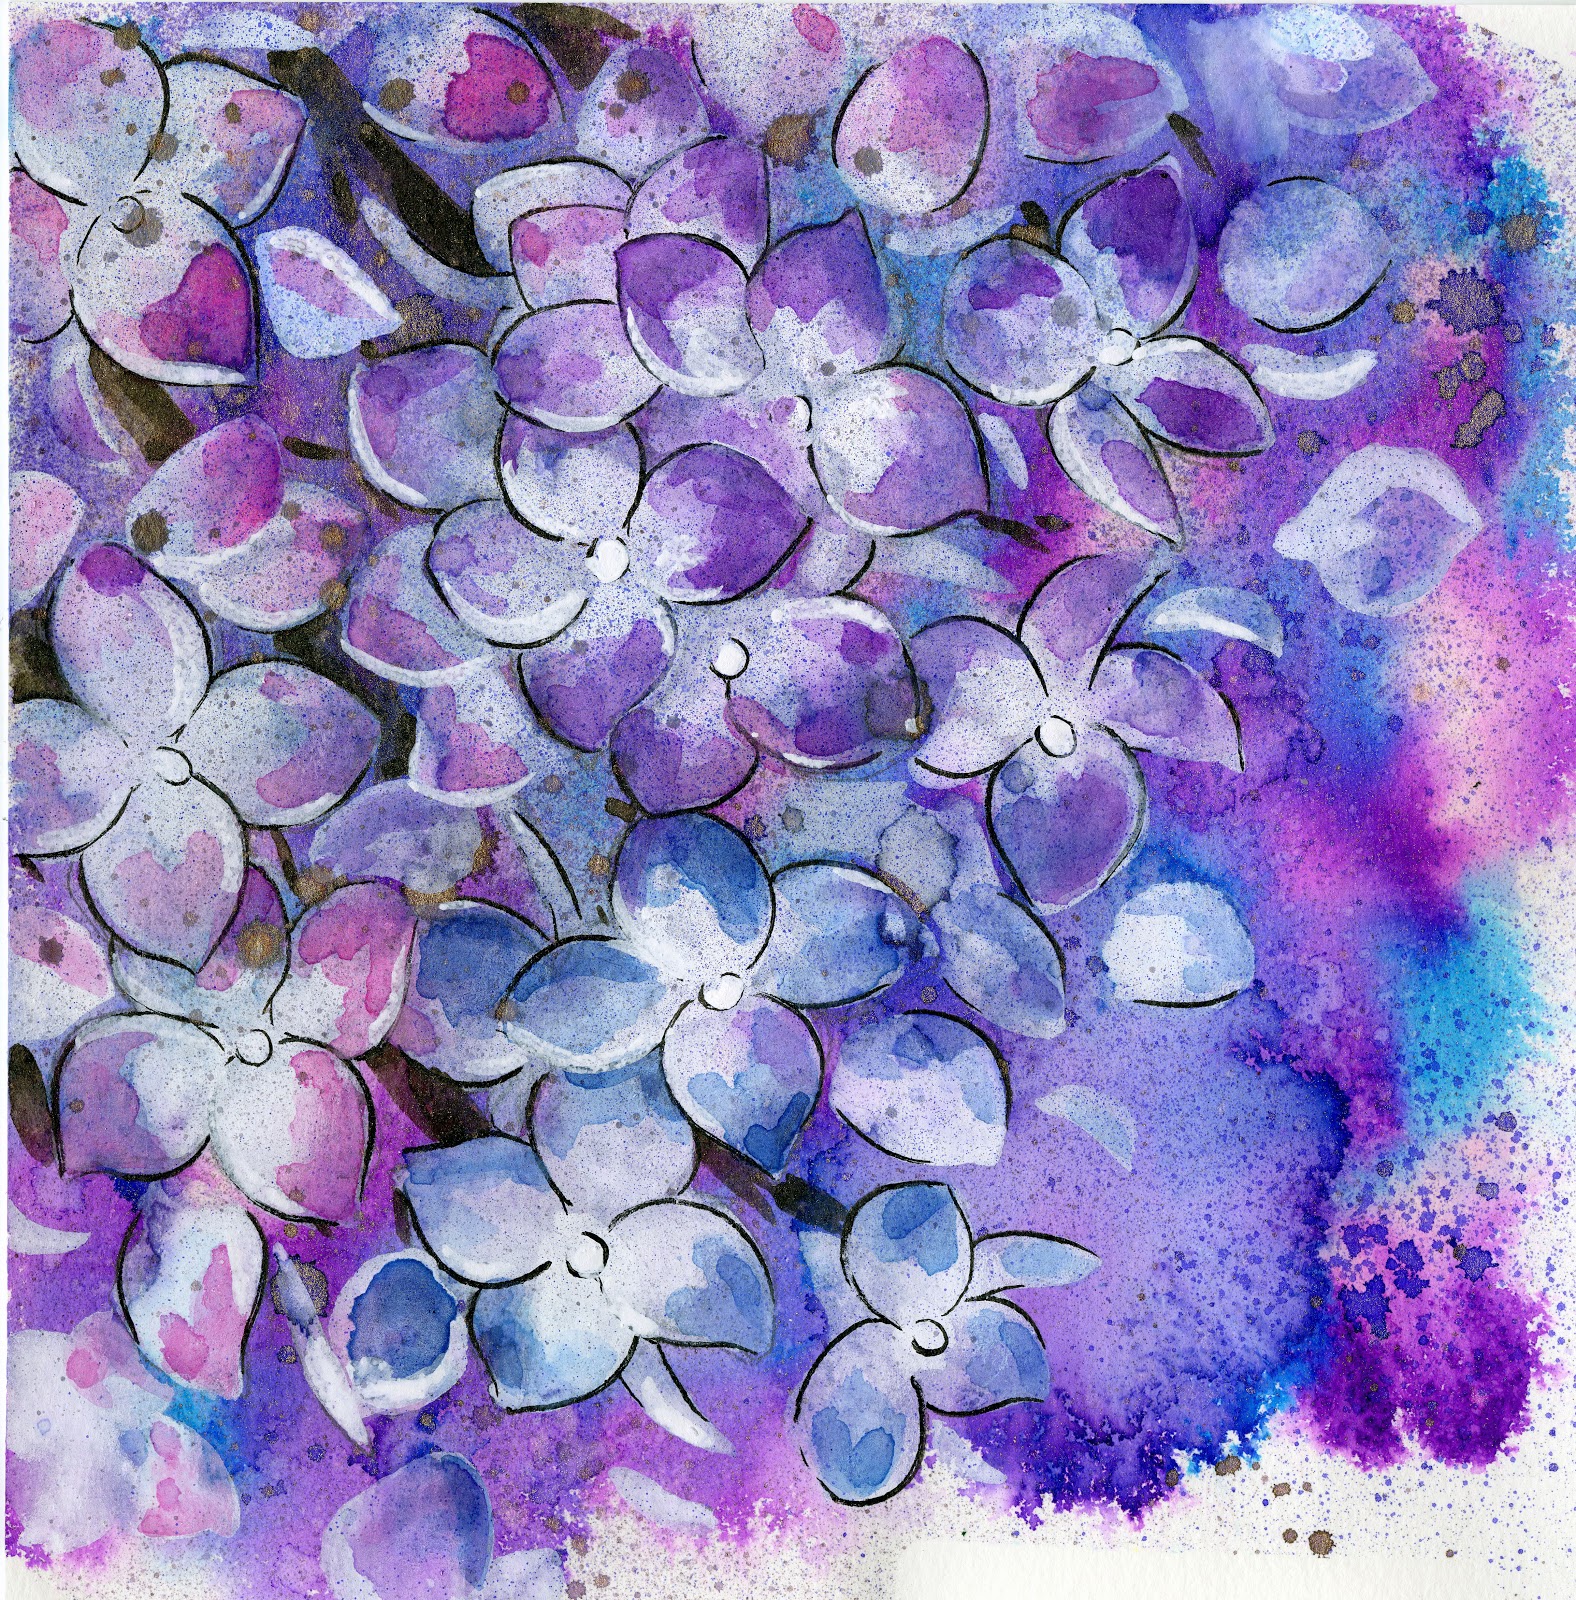 |
| MozArt Watercolor markers on Fluid Watercolor Paper. Markers were randomly applied, then sprayed with water. Allowed to dry, then hydrangea were sketched, painted, and inked on top. |
Typically dye based, but not always. This technique will work with pigment based watercolor markers like Winsor and Newton Watercolor markers as well- so long as the ink has not dried. This technique also works with still wet India and Acrylic inks as well.
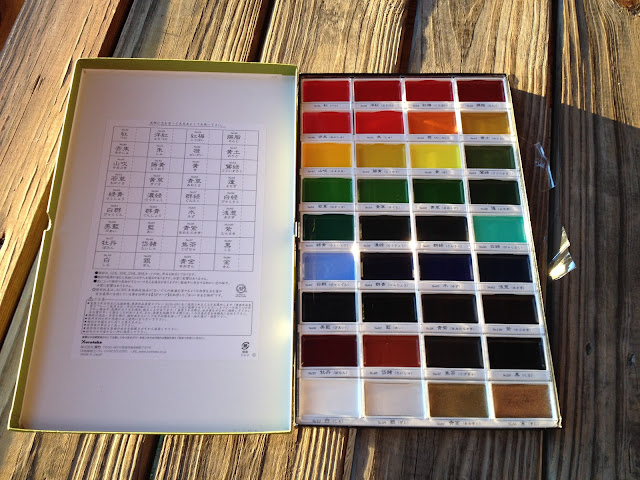
These techniques work particularly well with dye-based watercolor markers, such as Kuretake Clean Color Real Brush Markers, Akashiya Sai markers, or even MozArt watercolor markers.
Watercoloring Wild Hydrangea Timelapse:
 |
| Kuretake Clean Color Real Brush. Base color applied, sprayed with water, then illustration tightened up and details added. |
 |
| Kuretake Clean Color Real Brush. Base colors applied, sprayed with water, then illustration tightened up and details added. |
 |
| Kuretake Clean Color Real Brush. Base color applied, sprayed with water, then illustration tightened up and details added. |
Waterbased Sprays and Inks
How it works:
Pre-mixed (or mixed at home) waterbased or pigment based particles suspended in water are sprayed onto the surface of the paper. Water may or may not be sprayed on top.
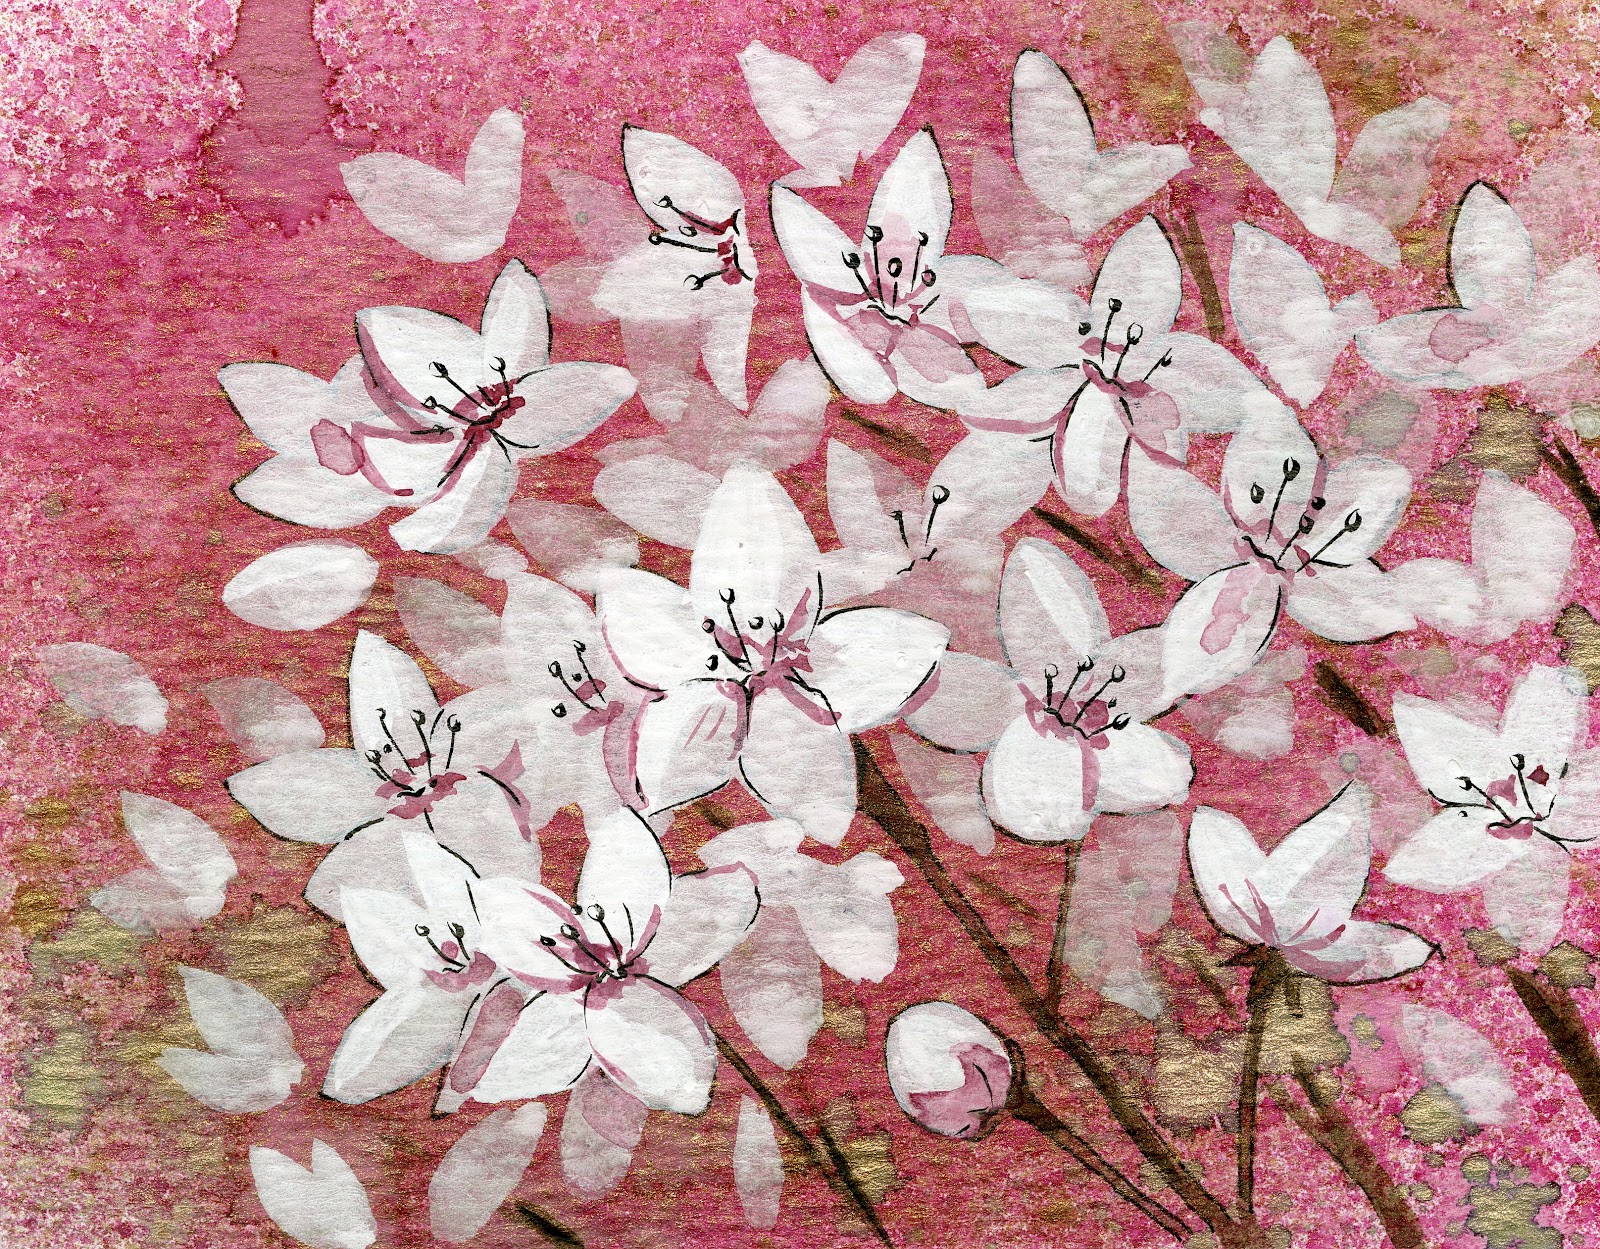 |
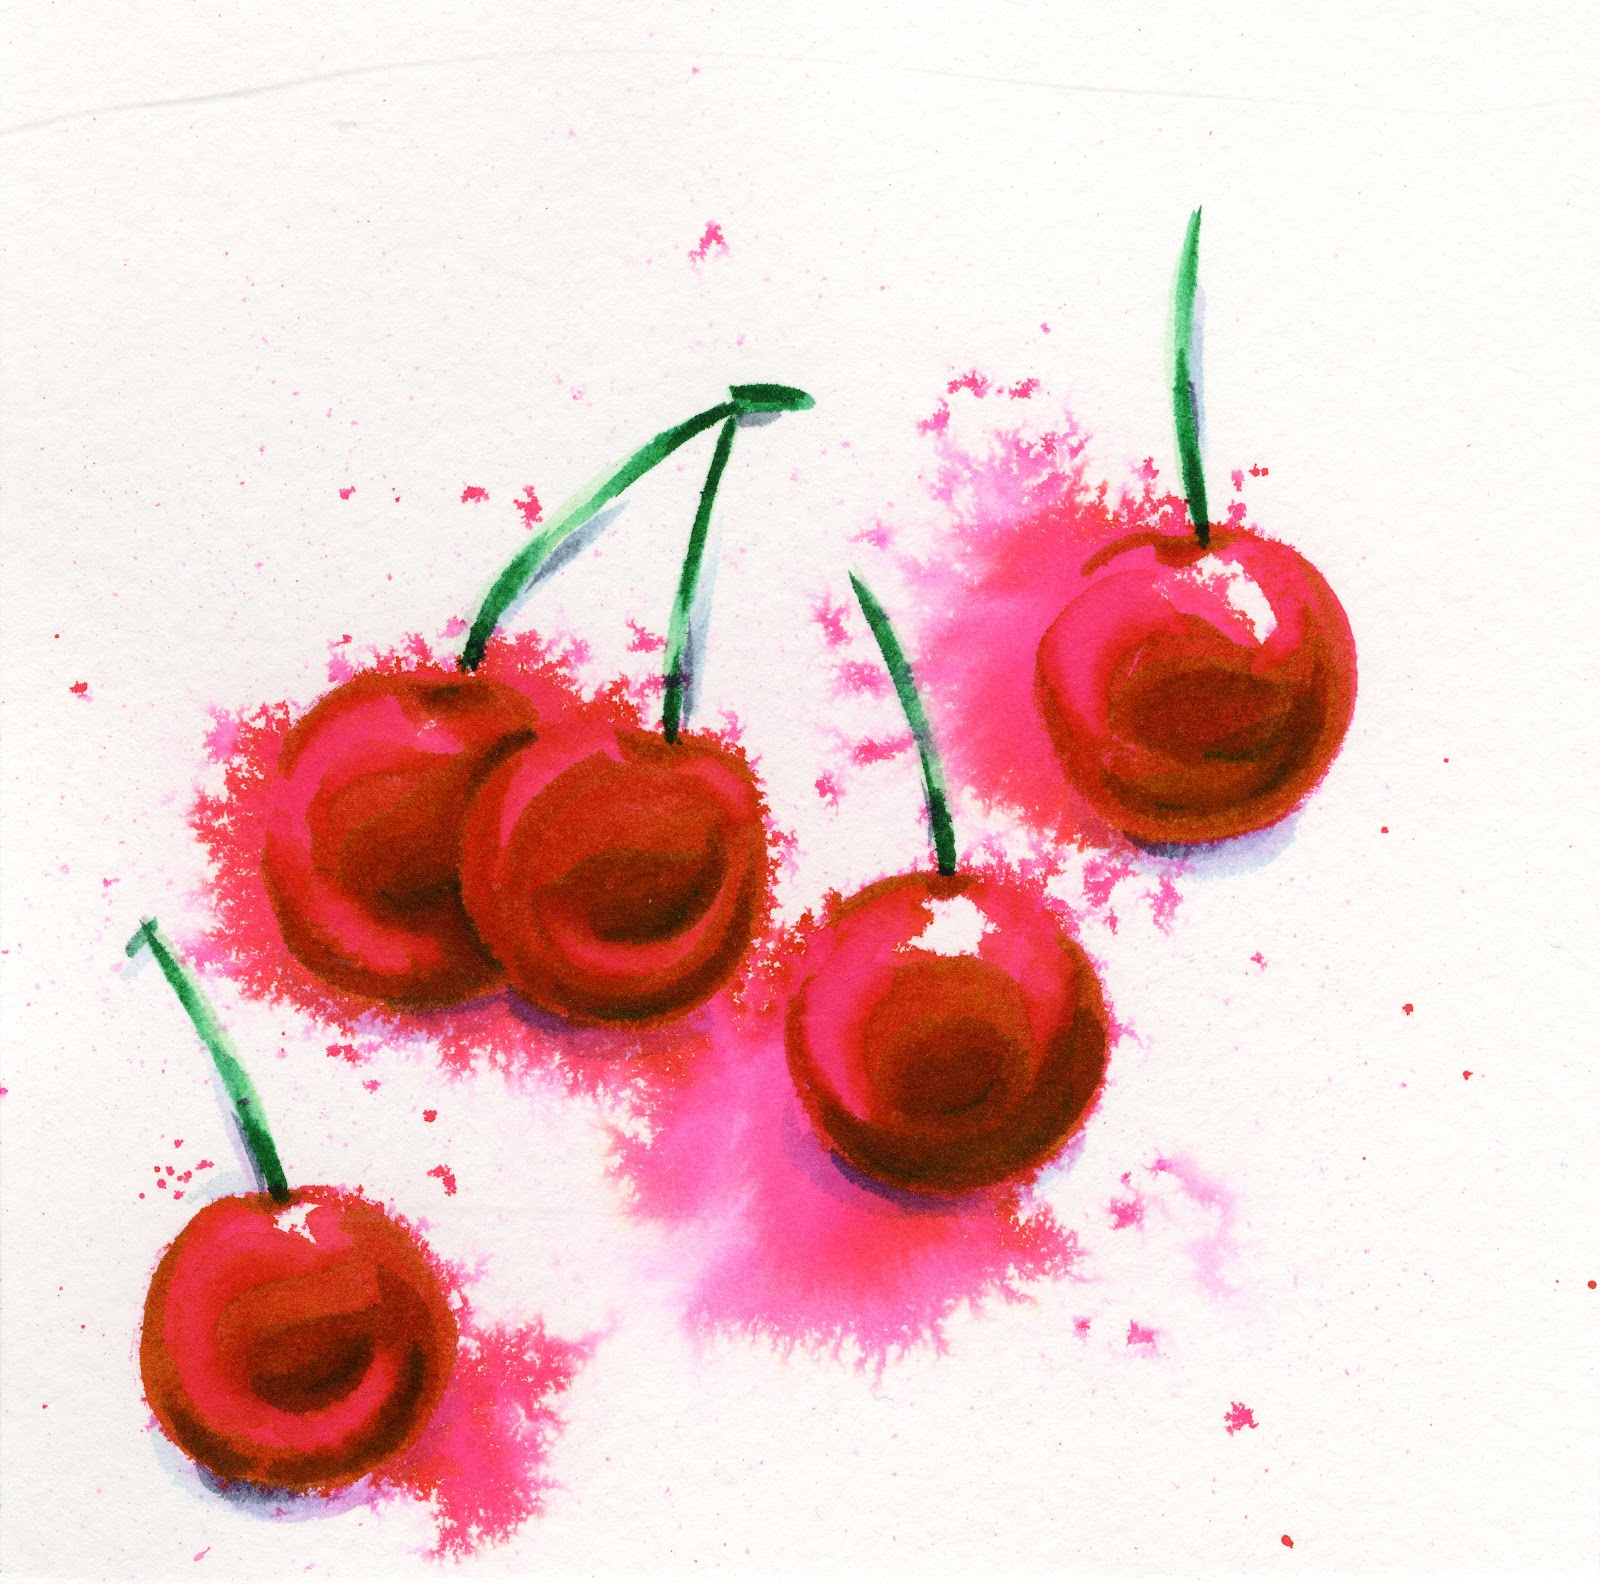
| Tattered Angels sprays, cherry blossoms sketched and paintied on top. |
These sprays can be purchased pre-mixed, and typically feature dye based, water reactive inks intended for this purpose. These are frequently used in cardmaking, art journaling, and stamping. Artists often make their own sprays as well by diluting tube watercolor paints in water. Finely ground mica or pearlescent/iridescent additives may be added for shimmer. Pre mixed sprays include Tattered Angels Glimmer sprays, Ranger Dylusions Ink Sprays , and Recollections sprays.


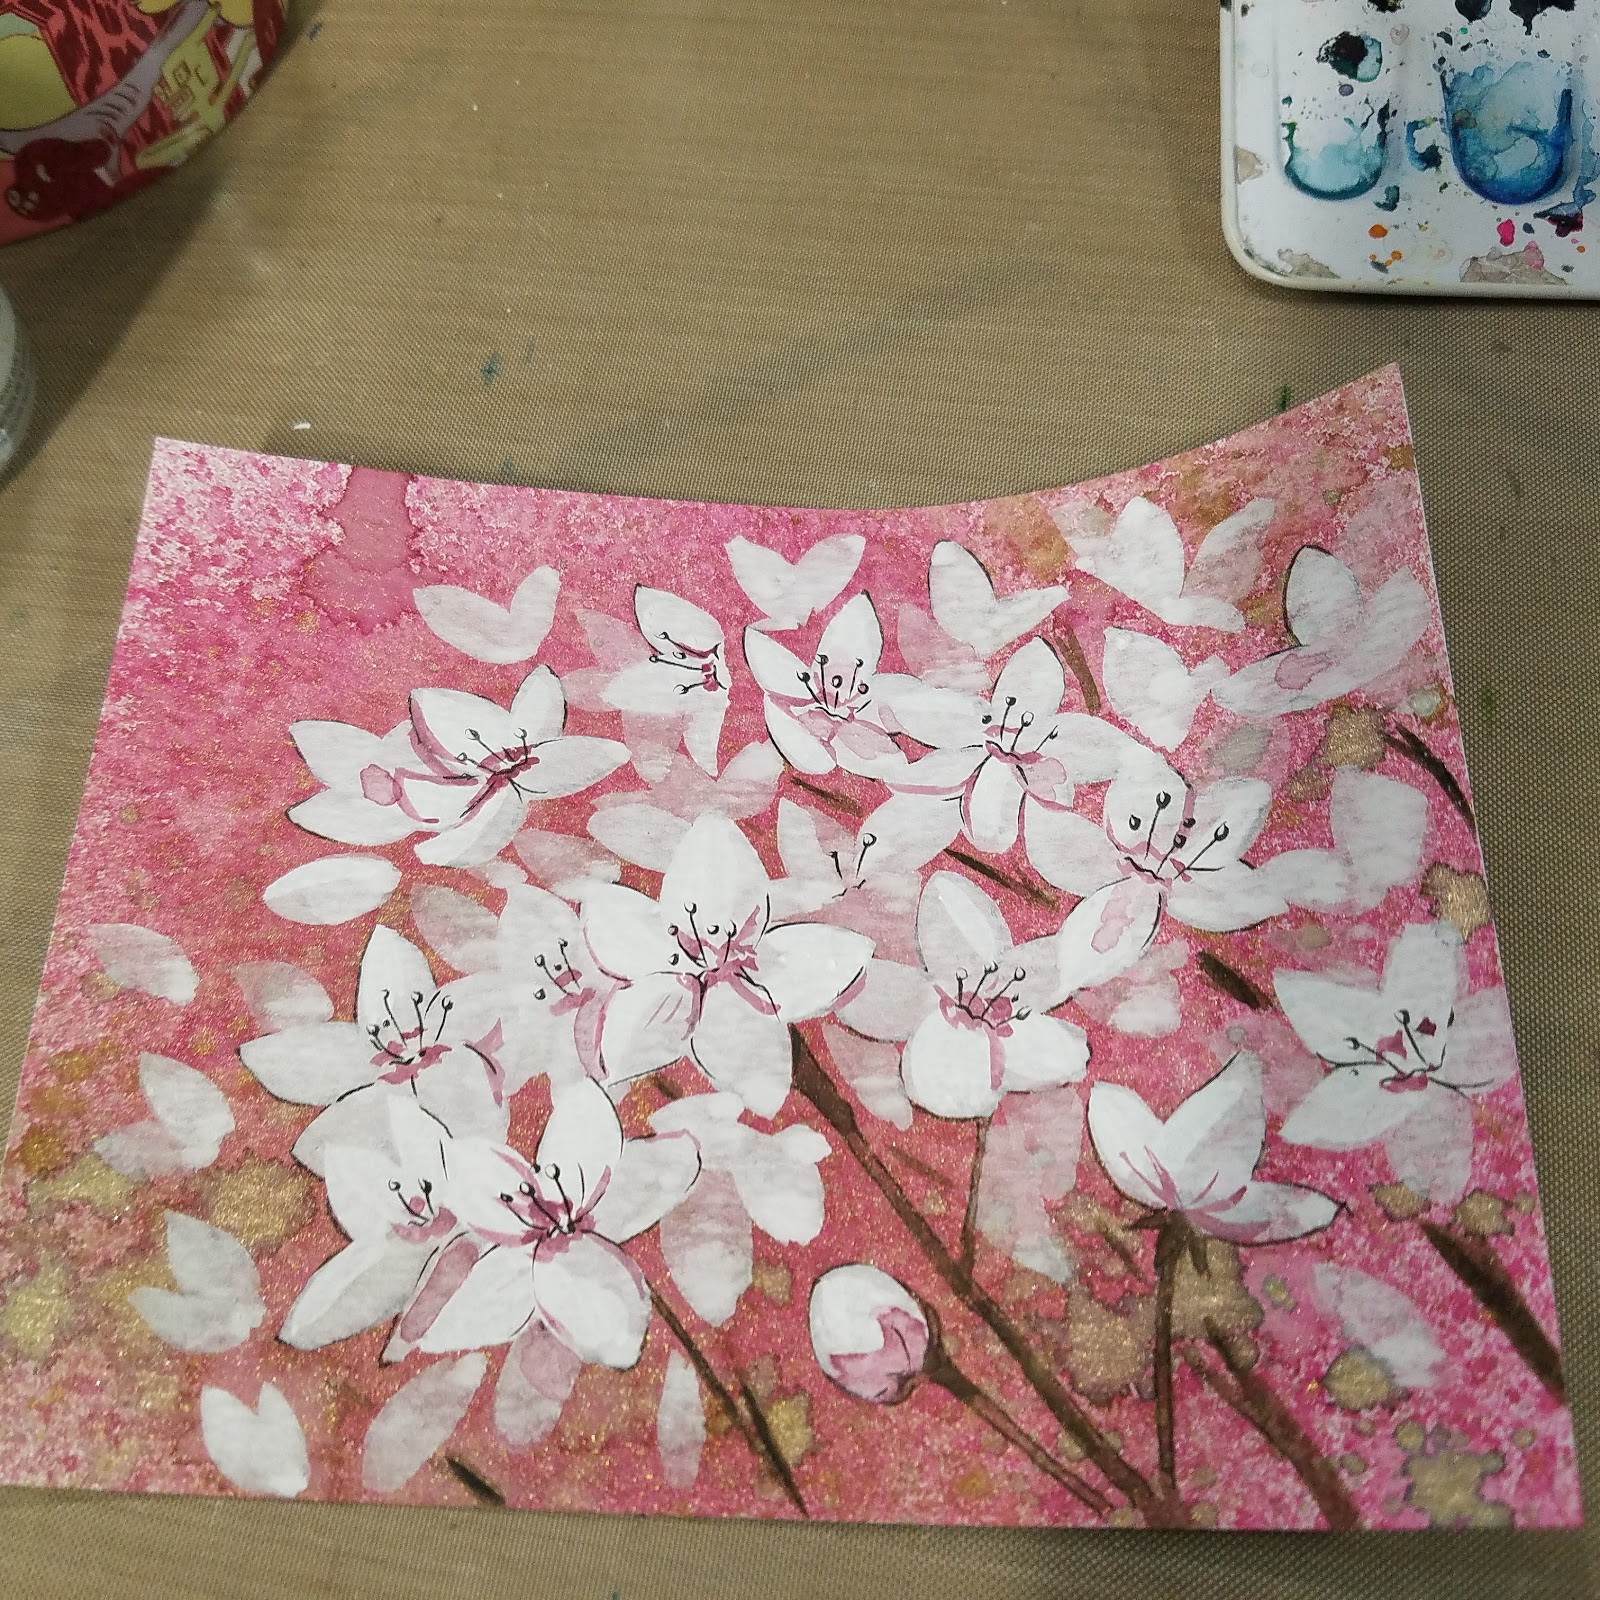 |
| Tattered Angels sprays, cherry blossoms sketched and painted on top. |
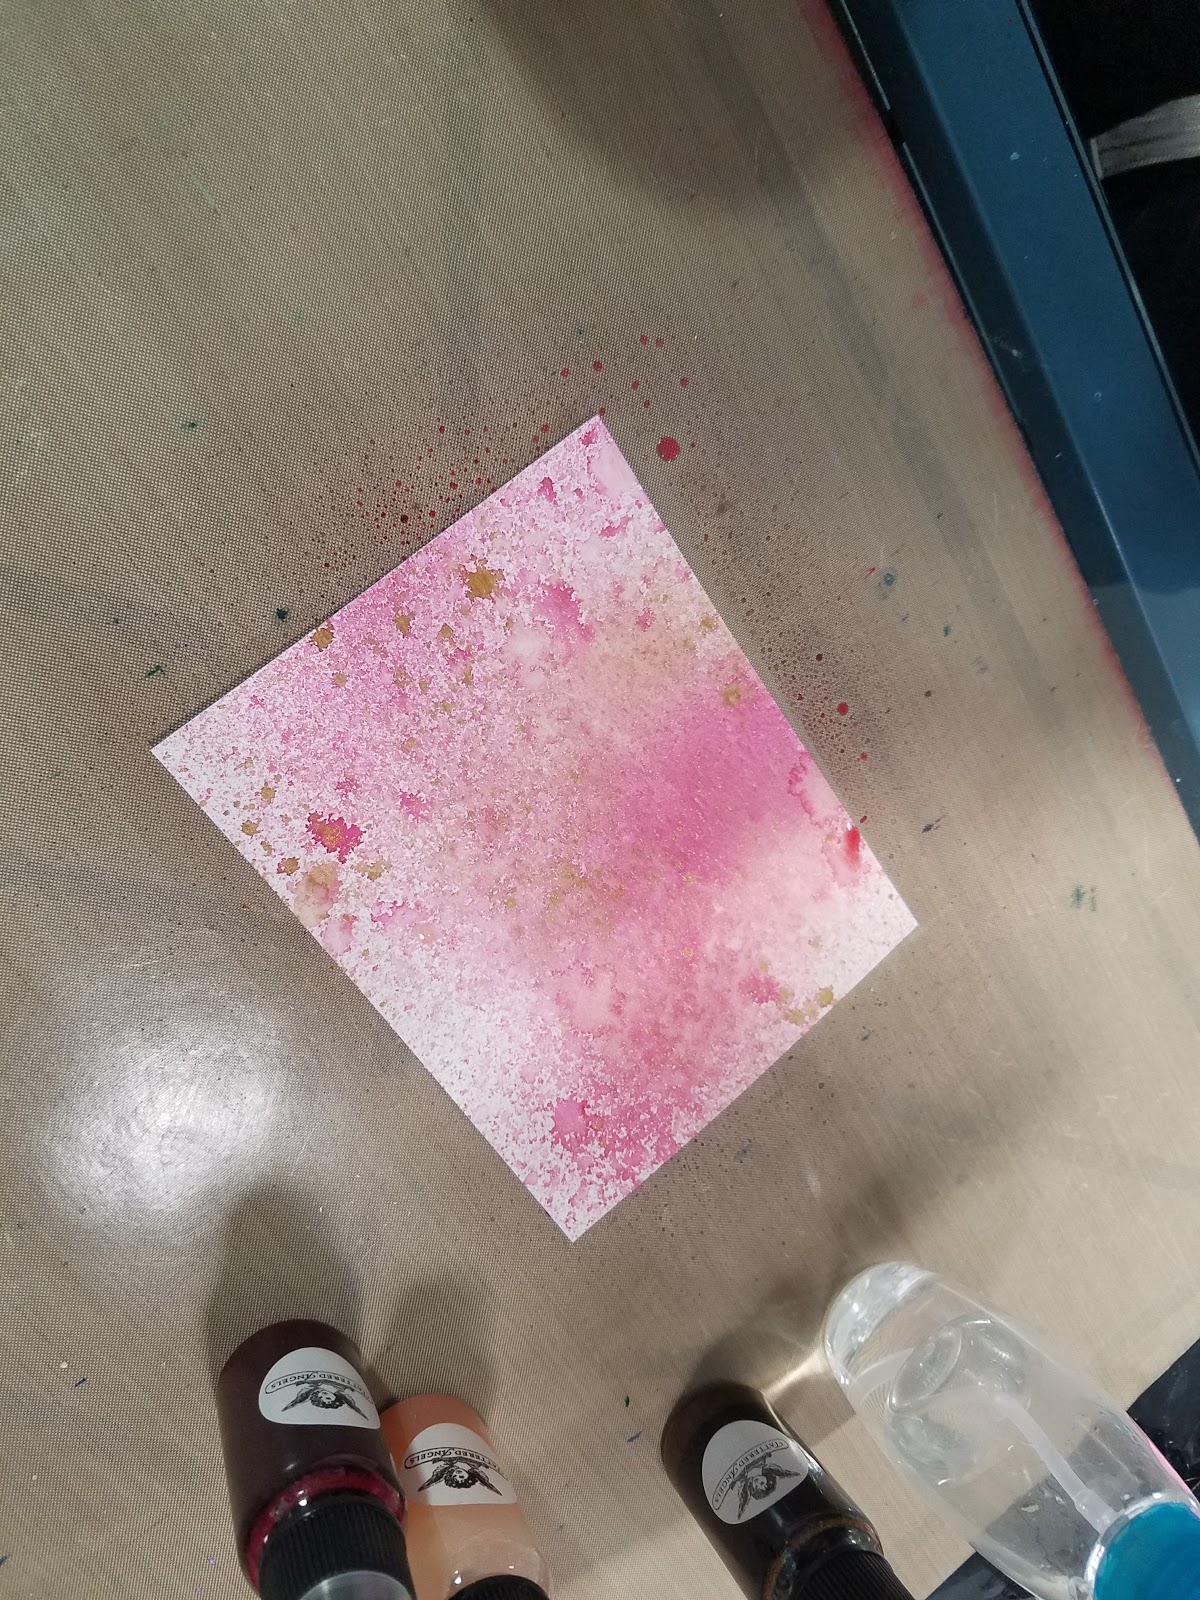
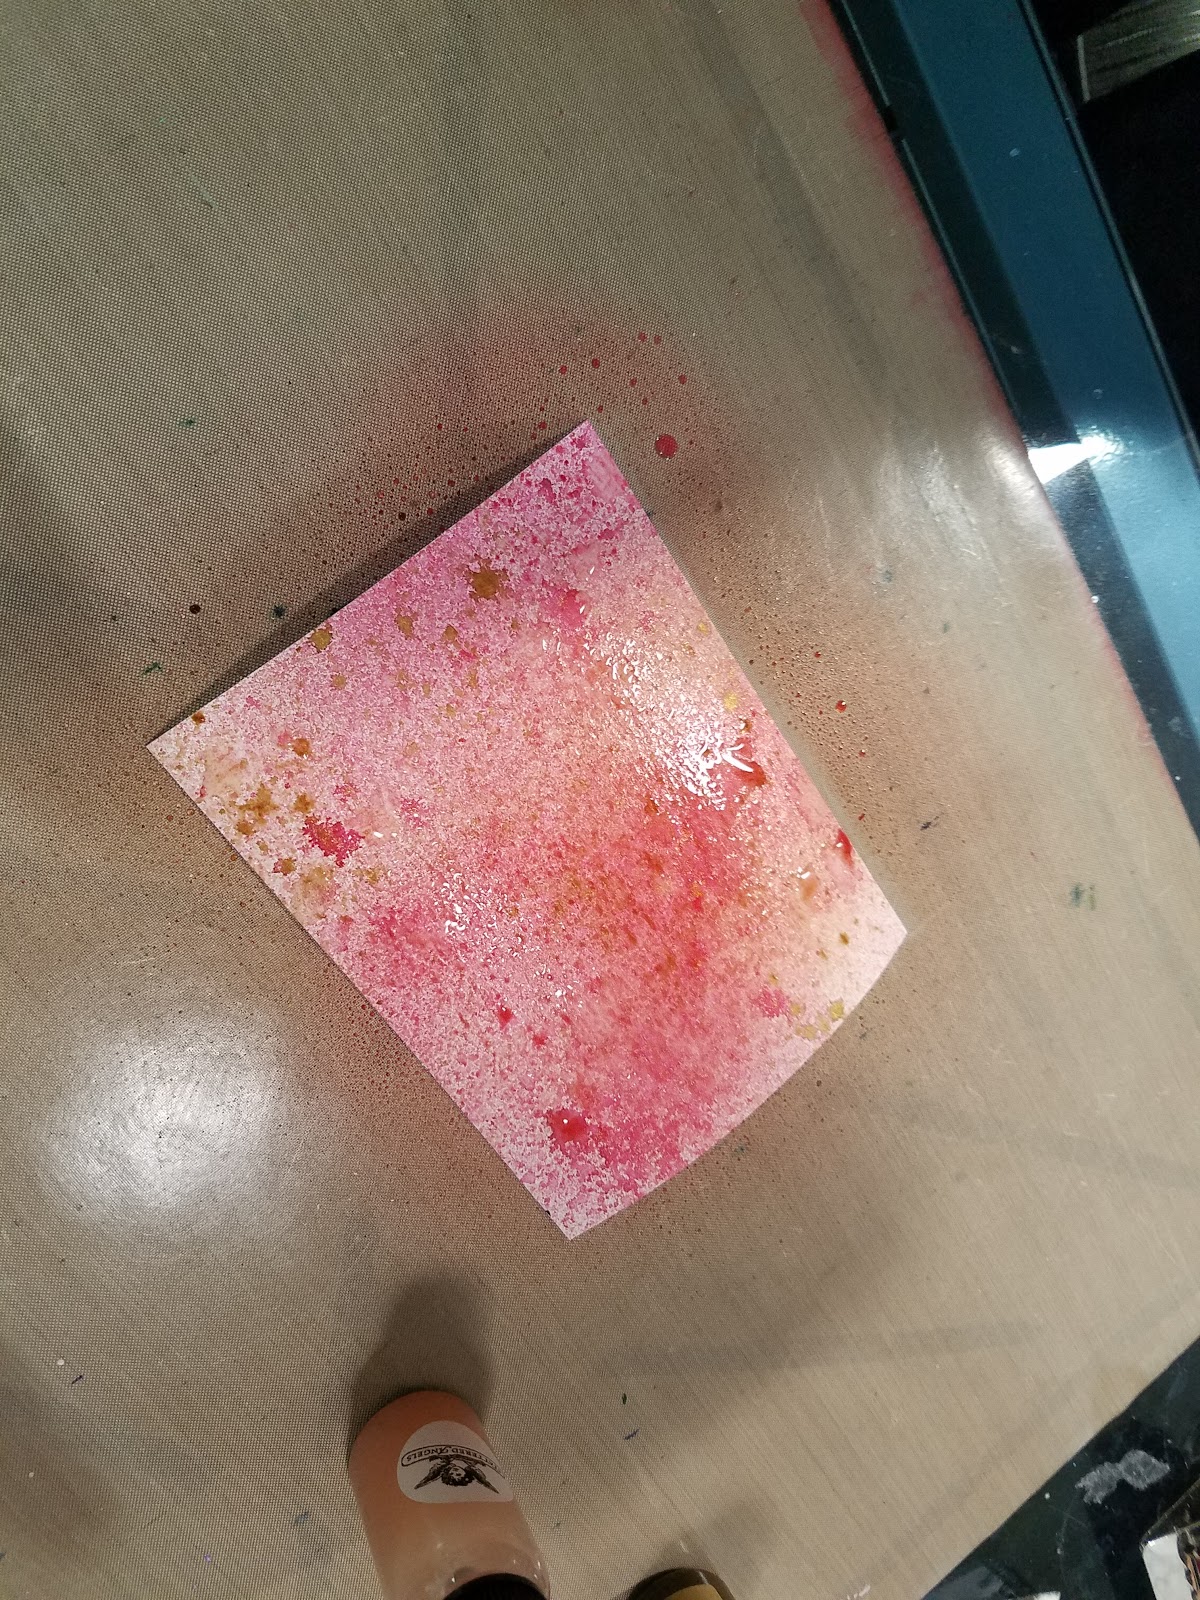
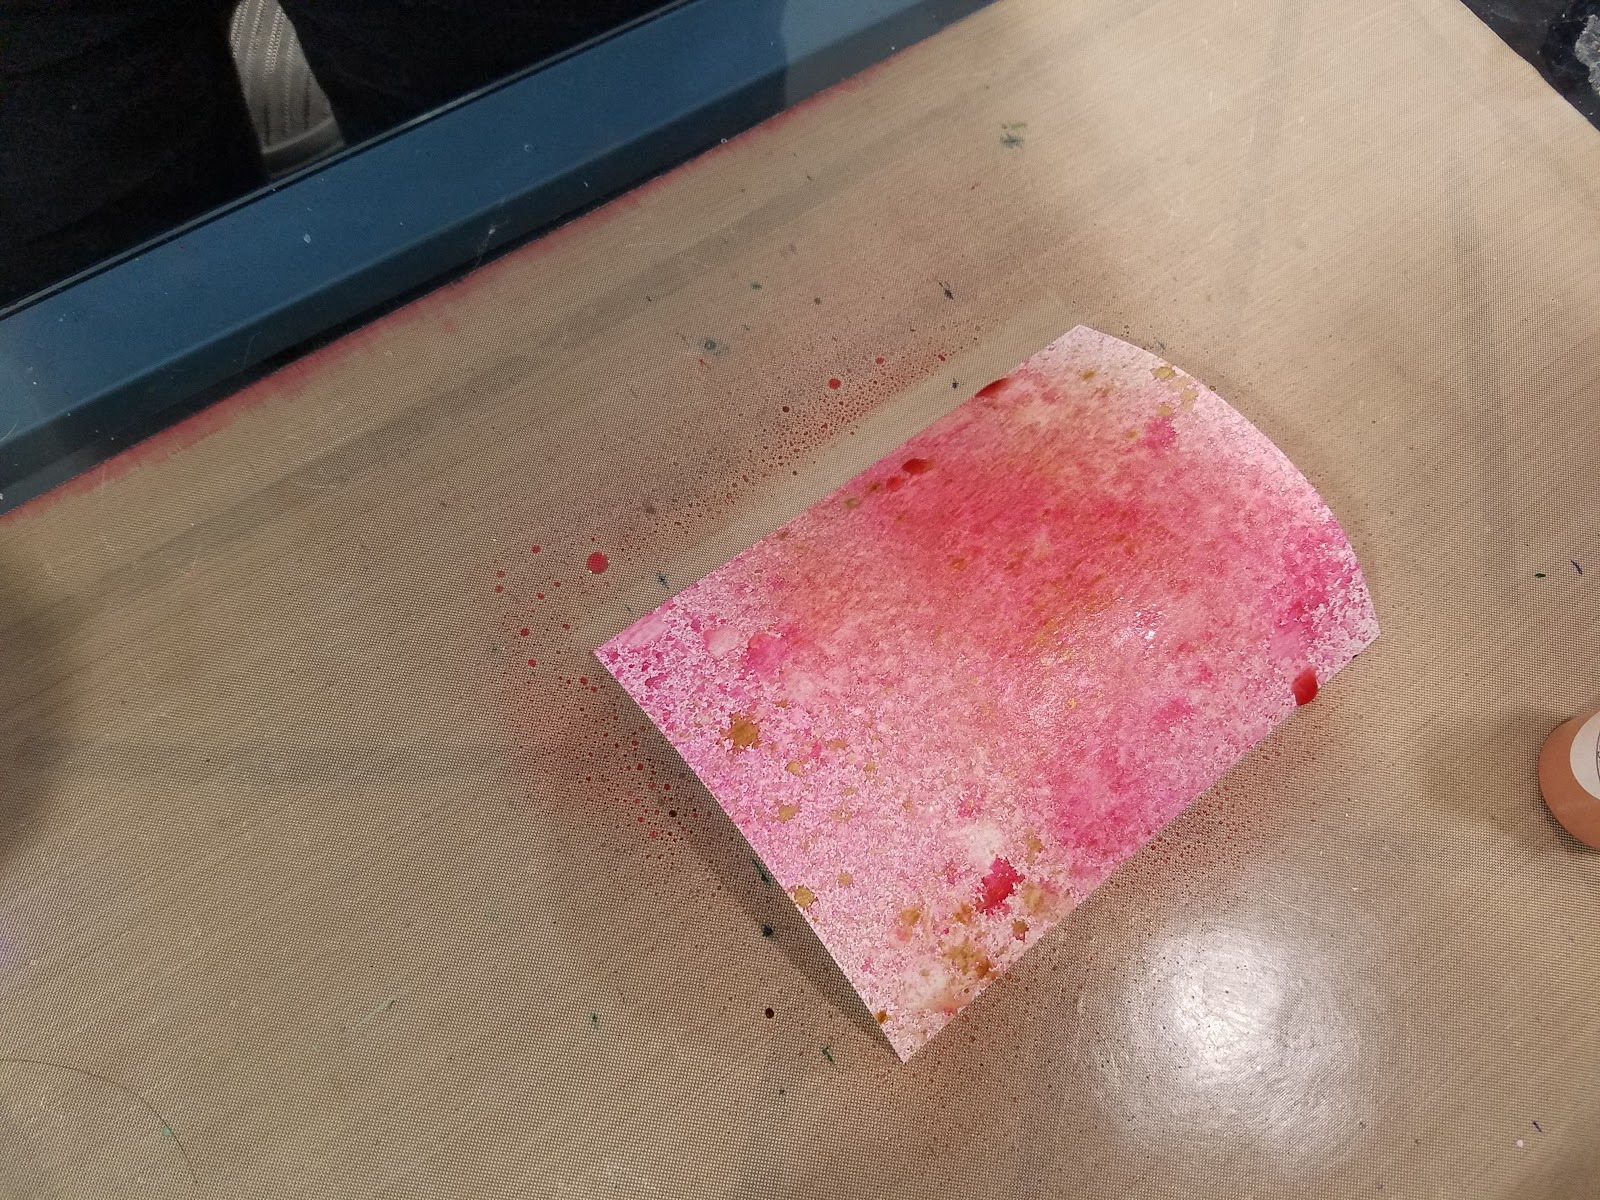
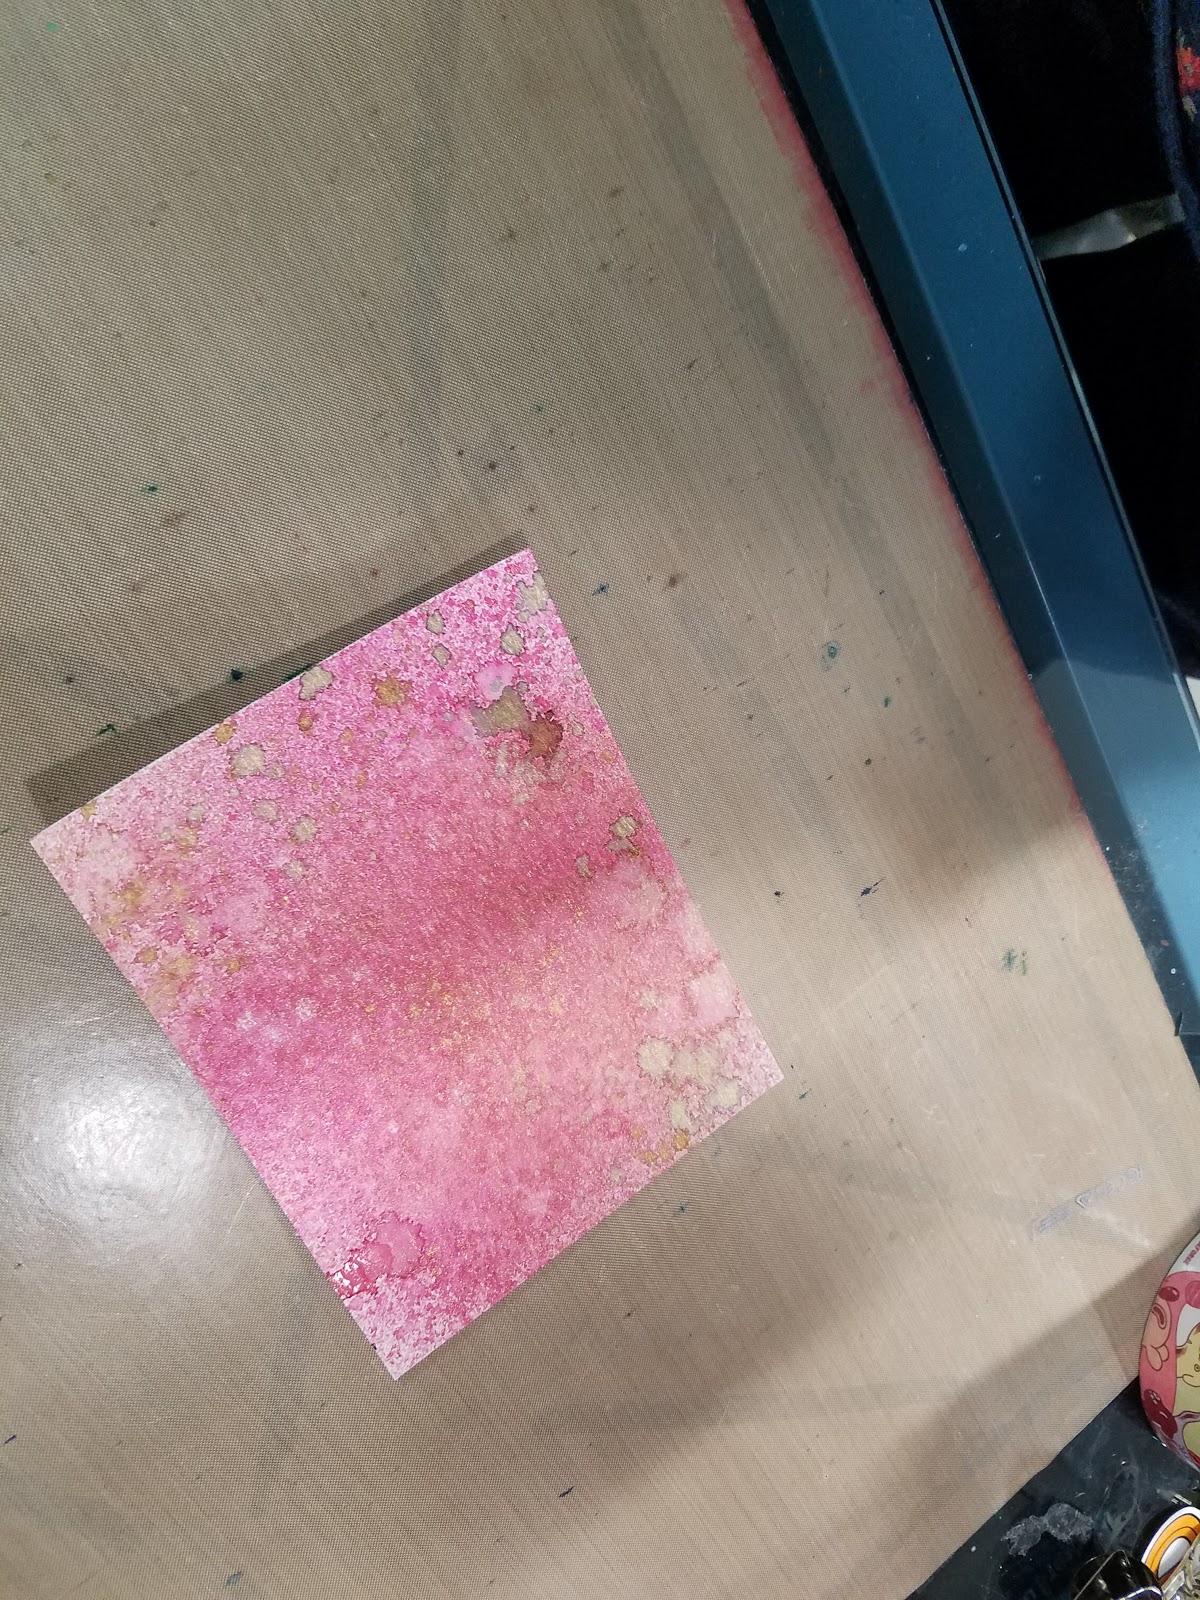
With Water Reactive Watercolor Crystals
How it works:
Illustration is inked or pencilled. Masking fluid is applied if desired to mask out areas for white or reserved painting at a later time. Brusho is applied, spritzed with water or water is applied and Brusho is sprinkled into the water. Illustration is allowed to dry, then may be further spritzed for better color movement. Allowed to dry again, excess Brusho is brushed away with a drafting brush, masking fluid is removed.
Mixed Berry Timelapse
This works with any powdered, crystalline, dye based watercolor- Brusho or Ken Oliver's Colorburst, and is a simple, fun technique with bright results!
 |
| Inked illustration, Brusho was sprinkled on and sprayed, then paint applied once Brusho removed. |
 |
| Inked illustration, Brusho applied then sprayed. |
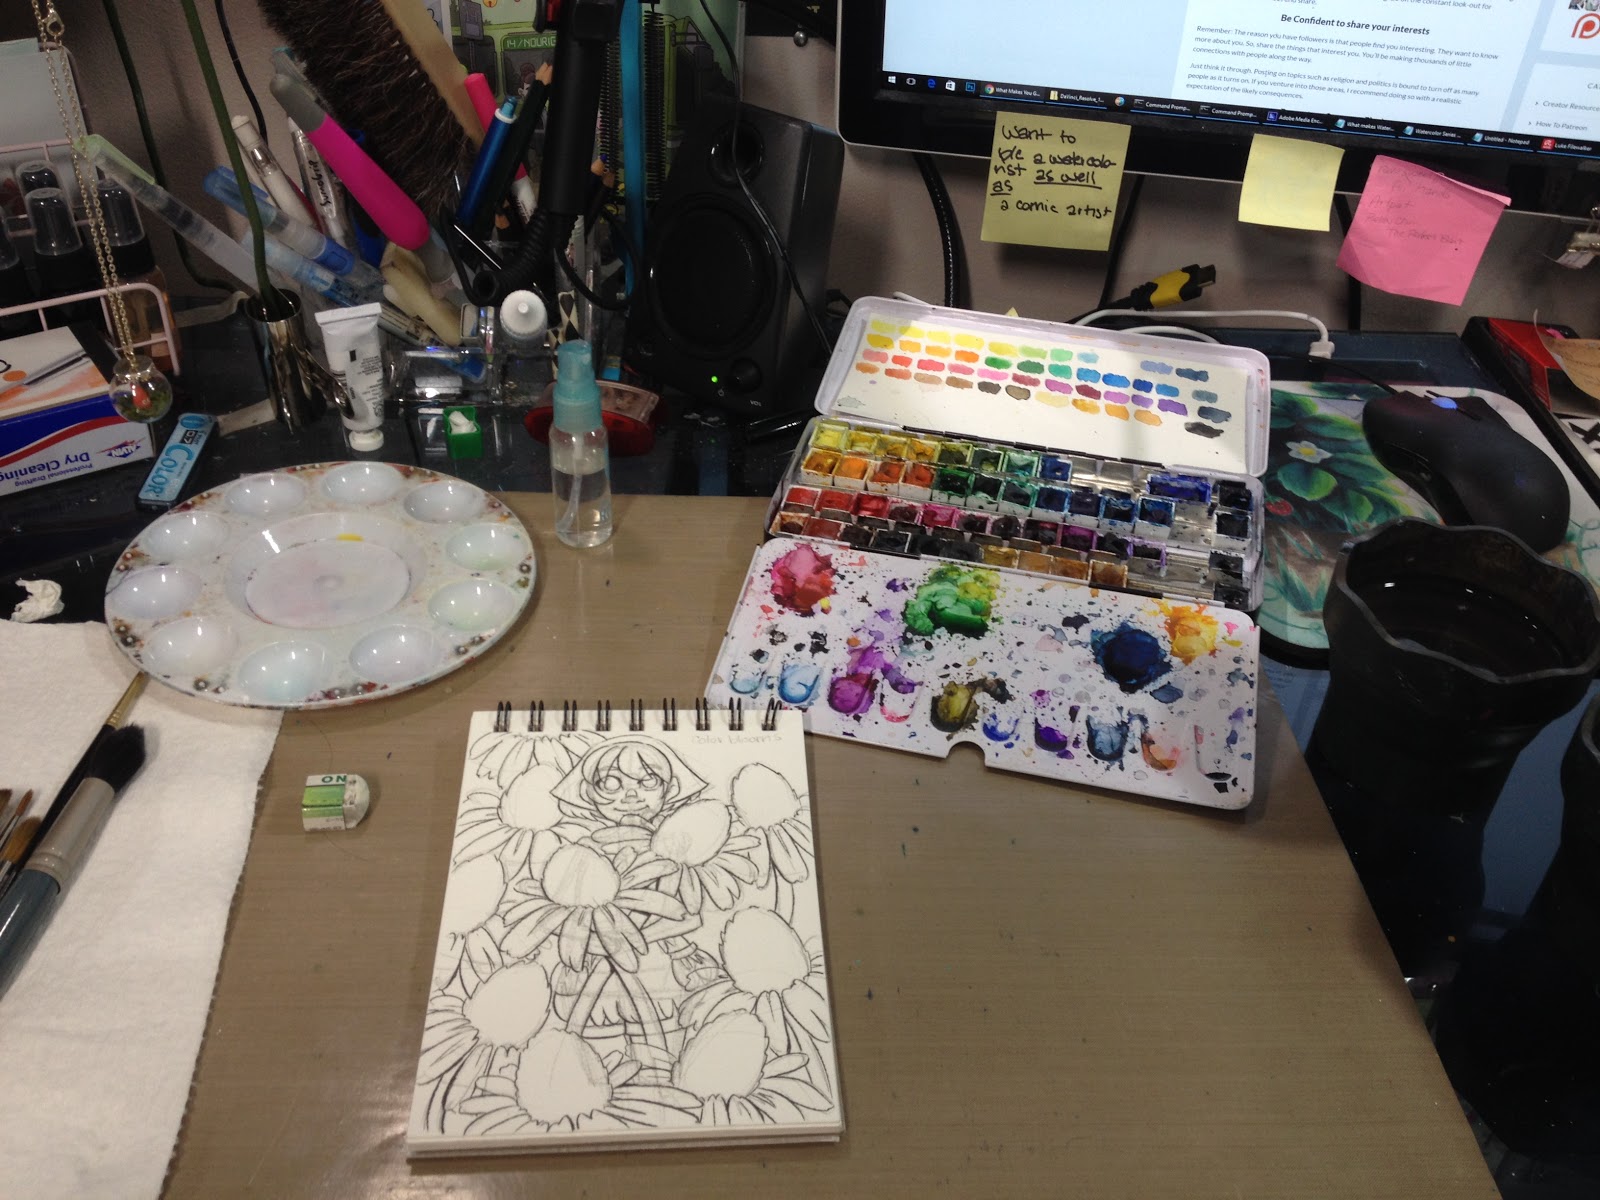
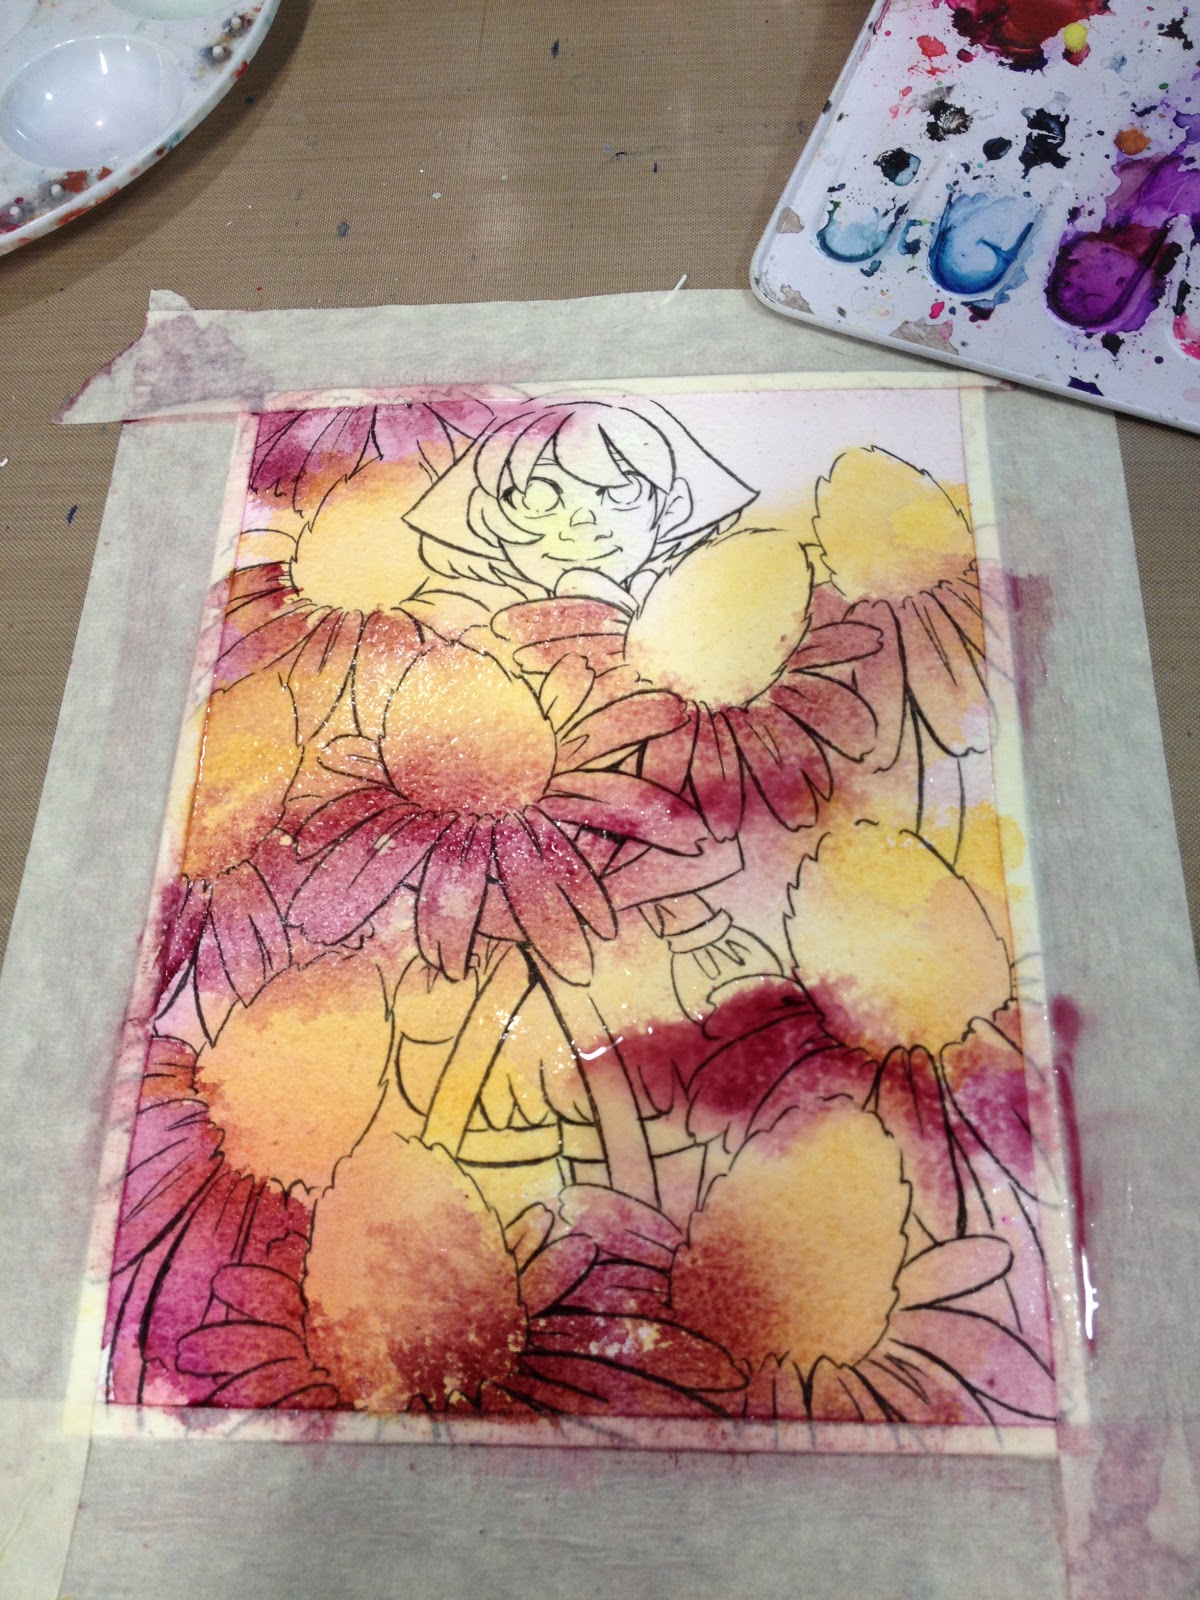
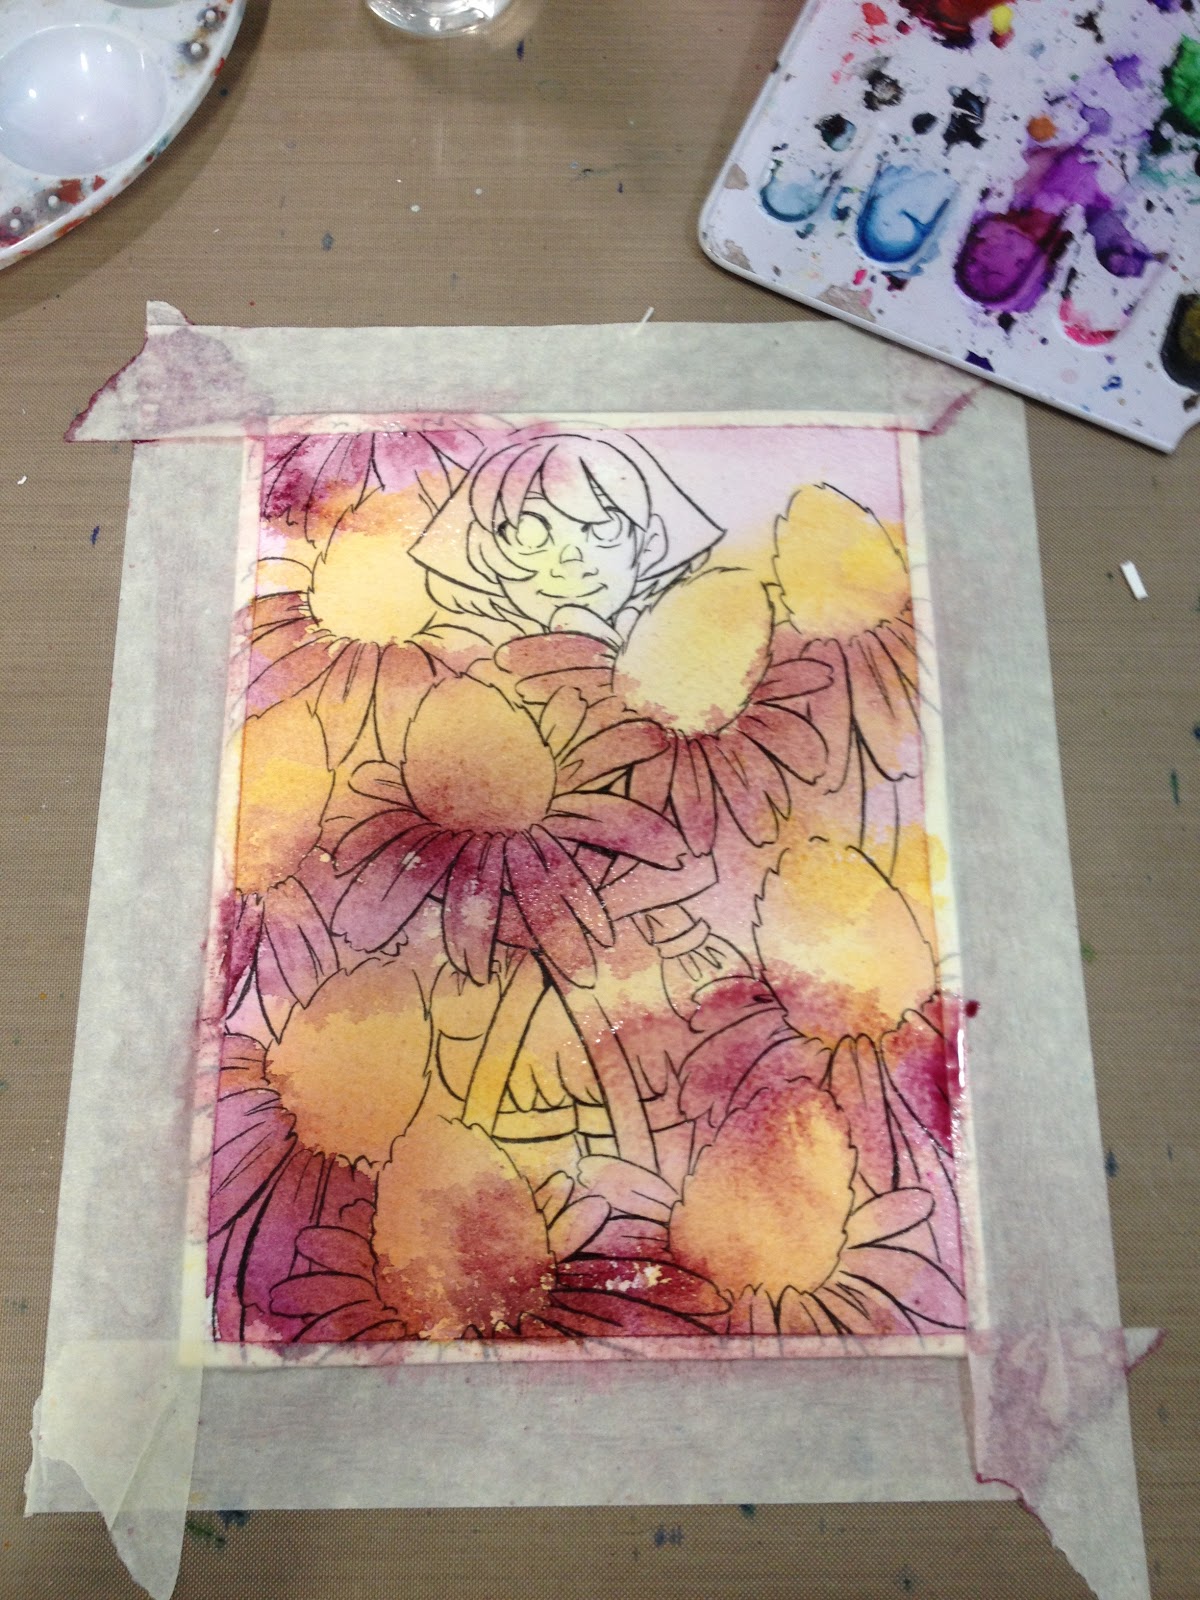
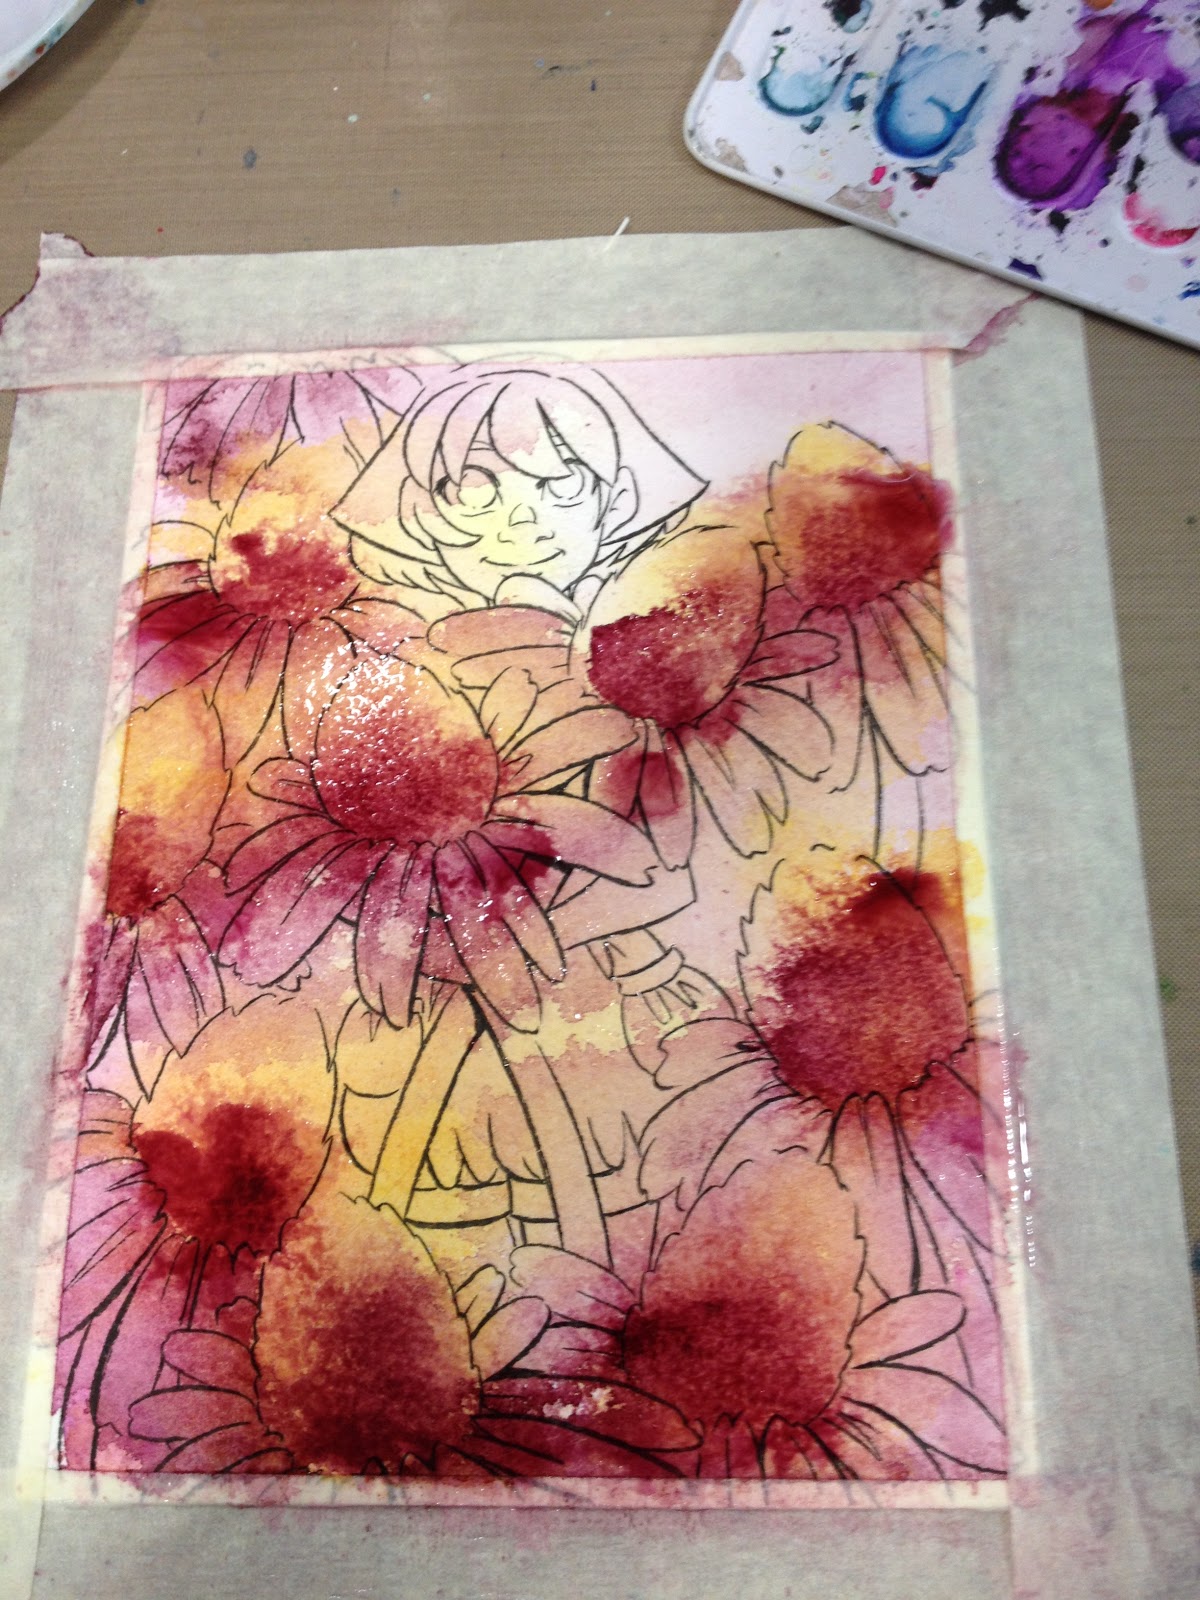
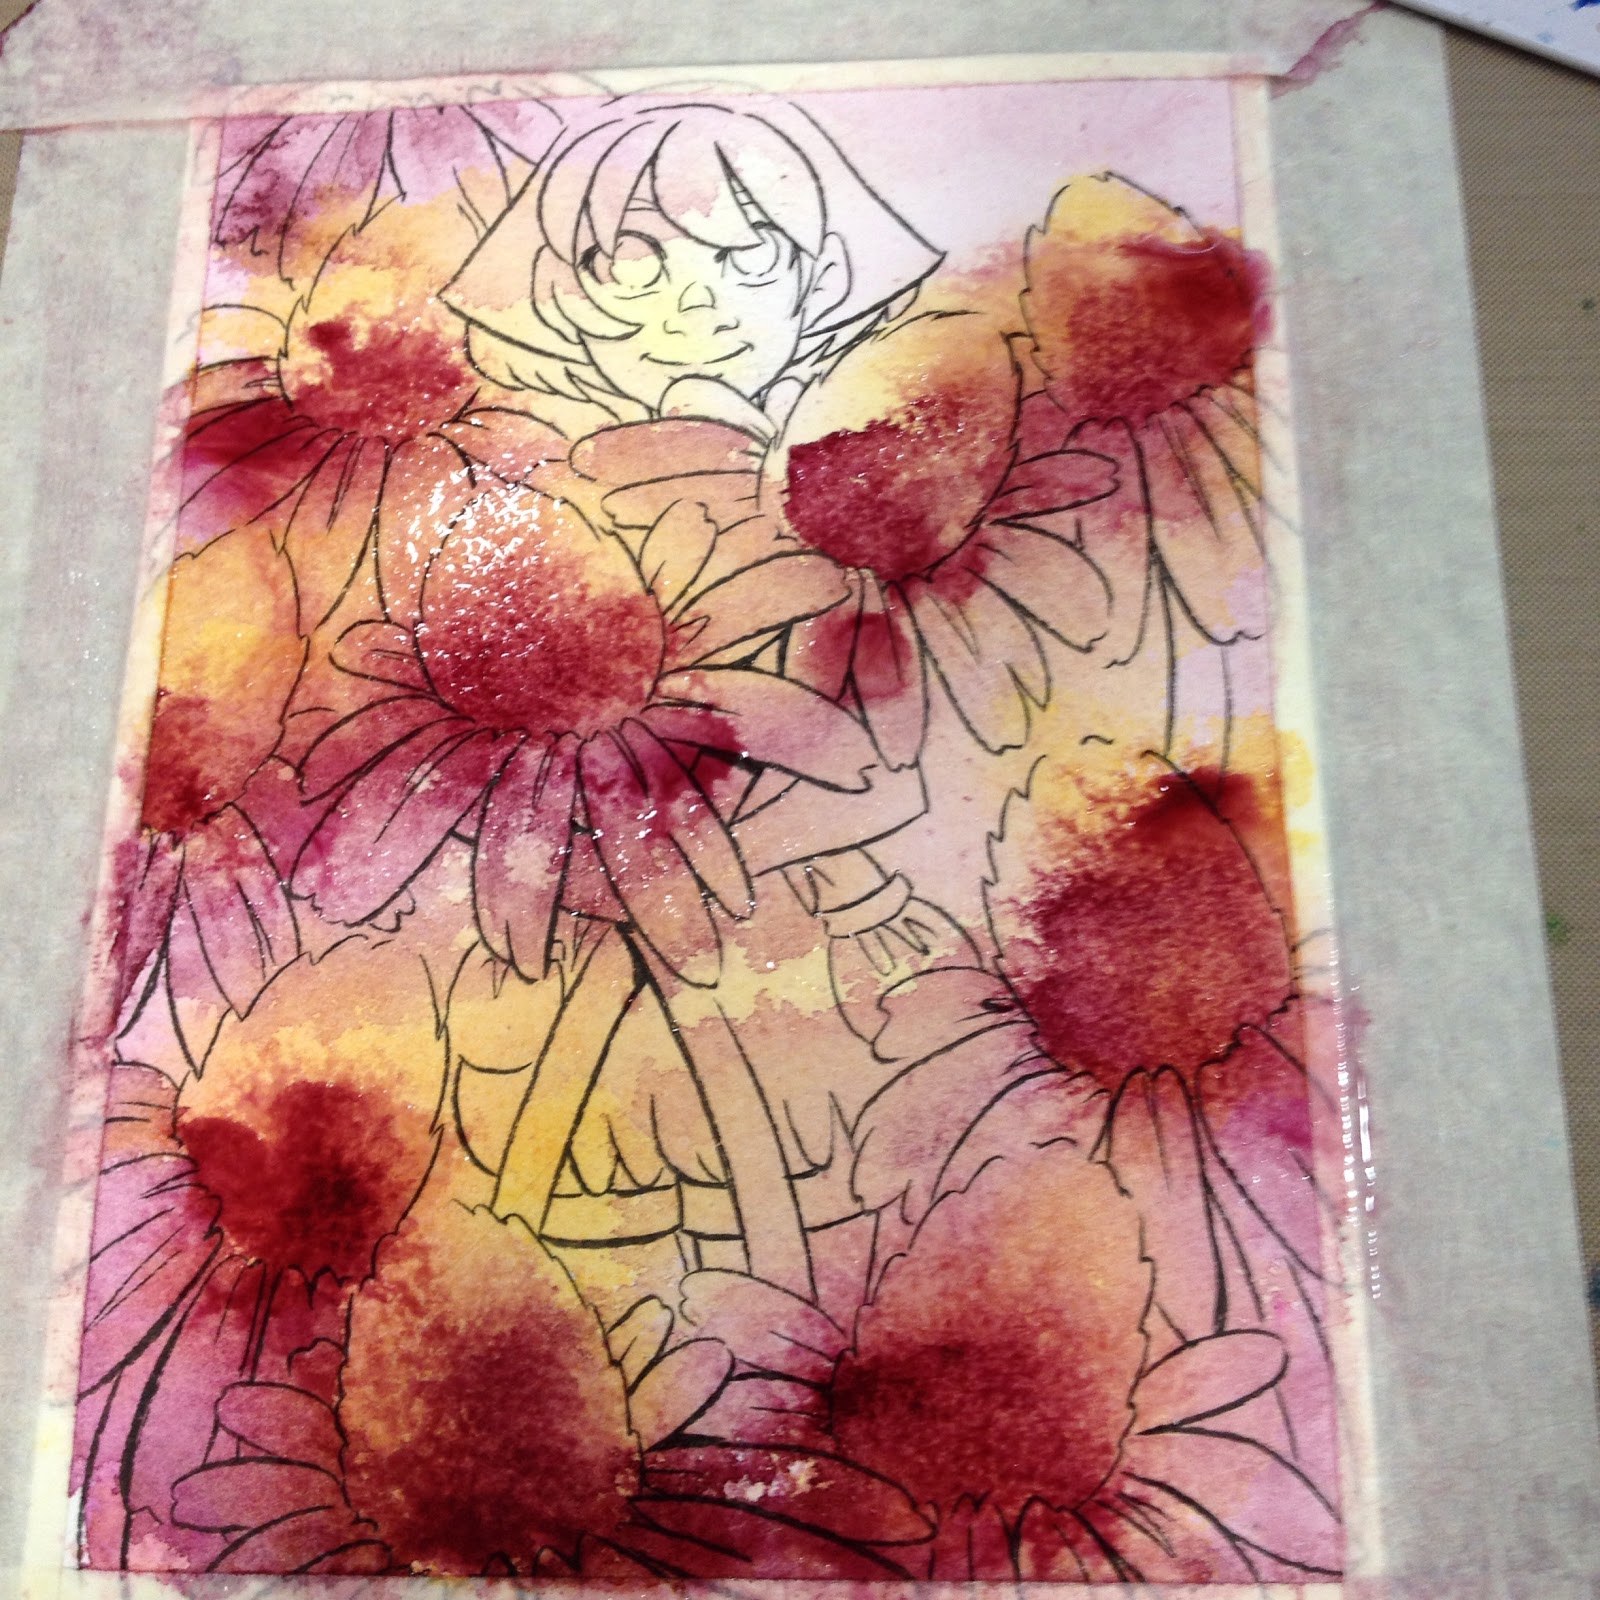
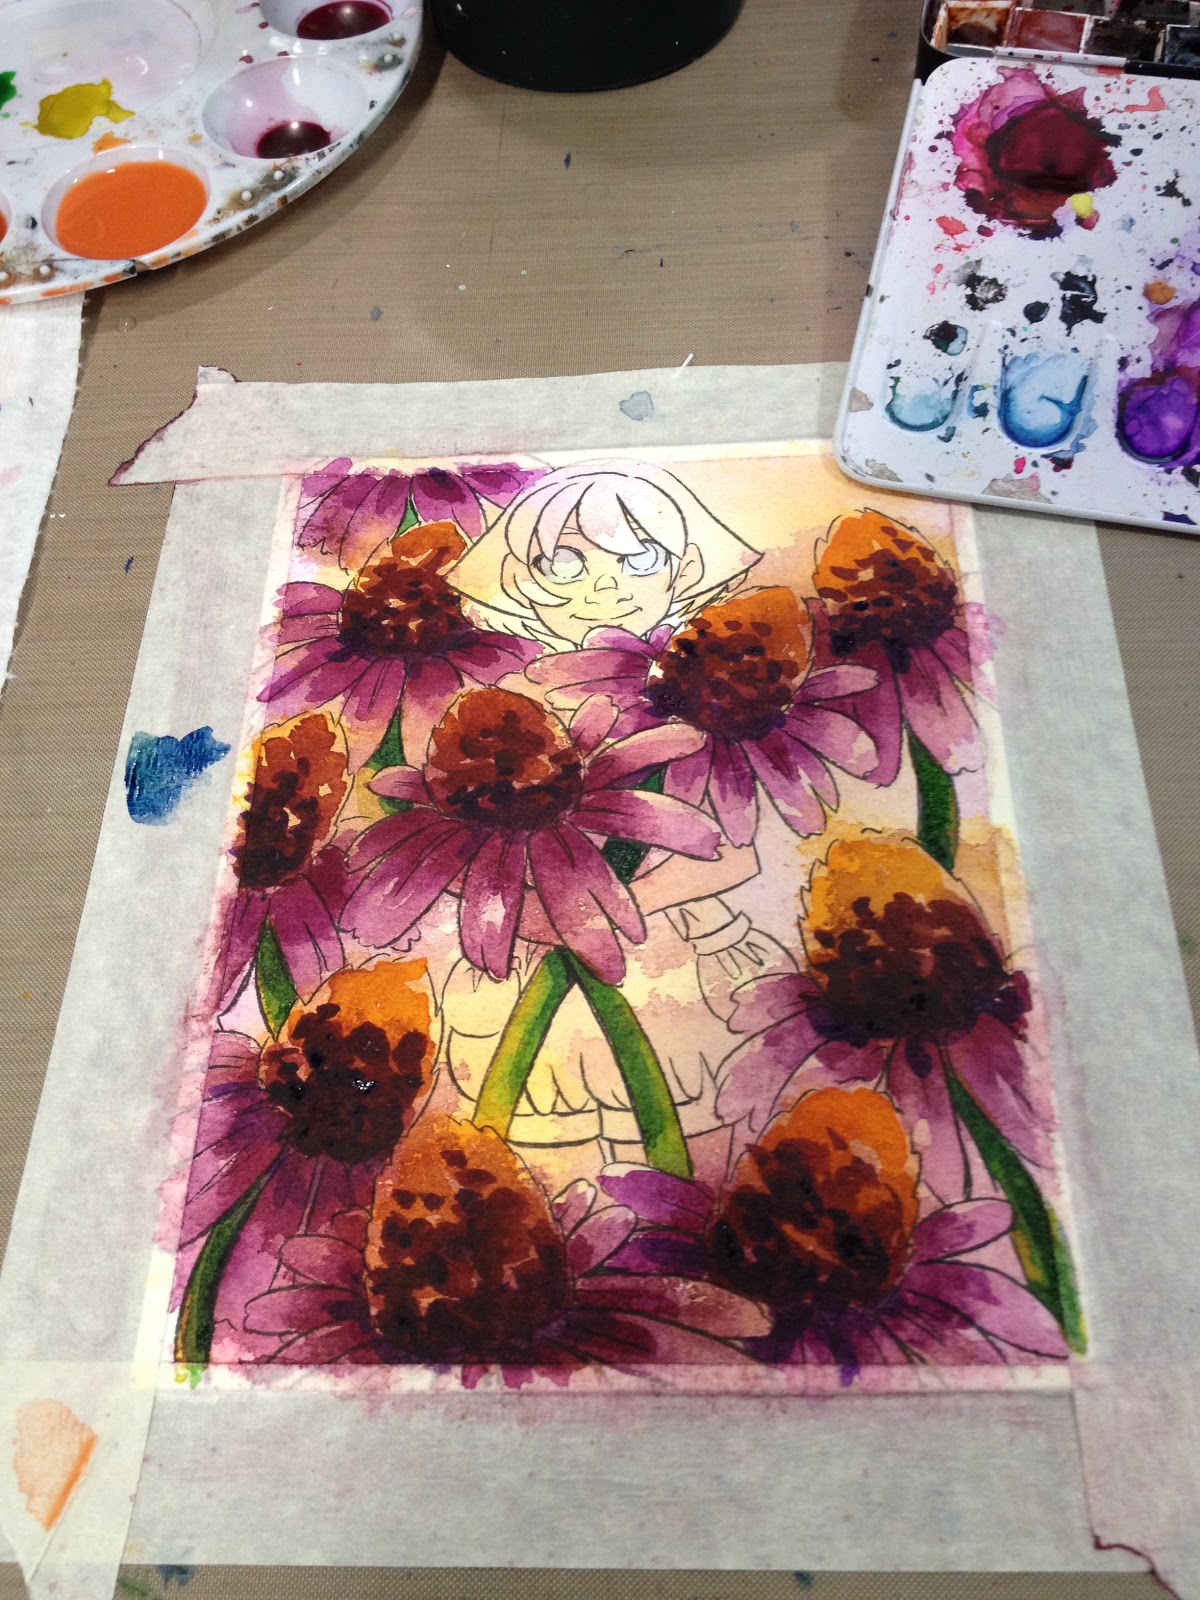
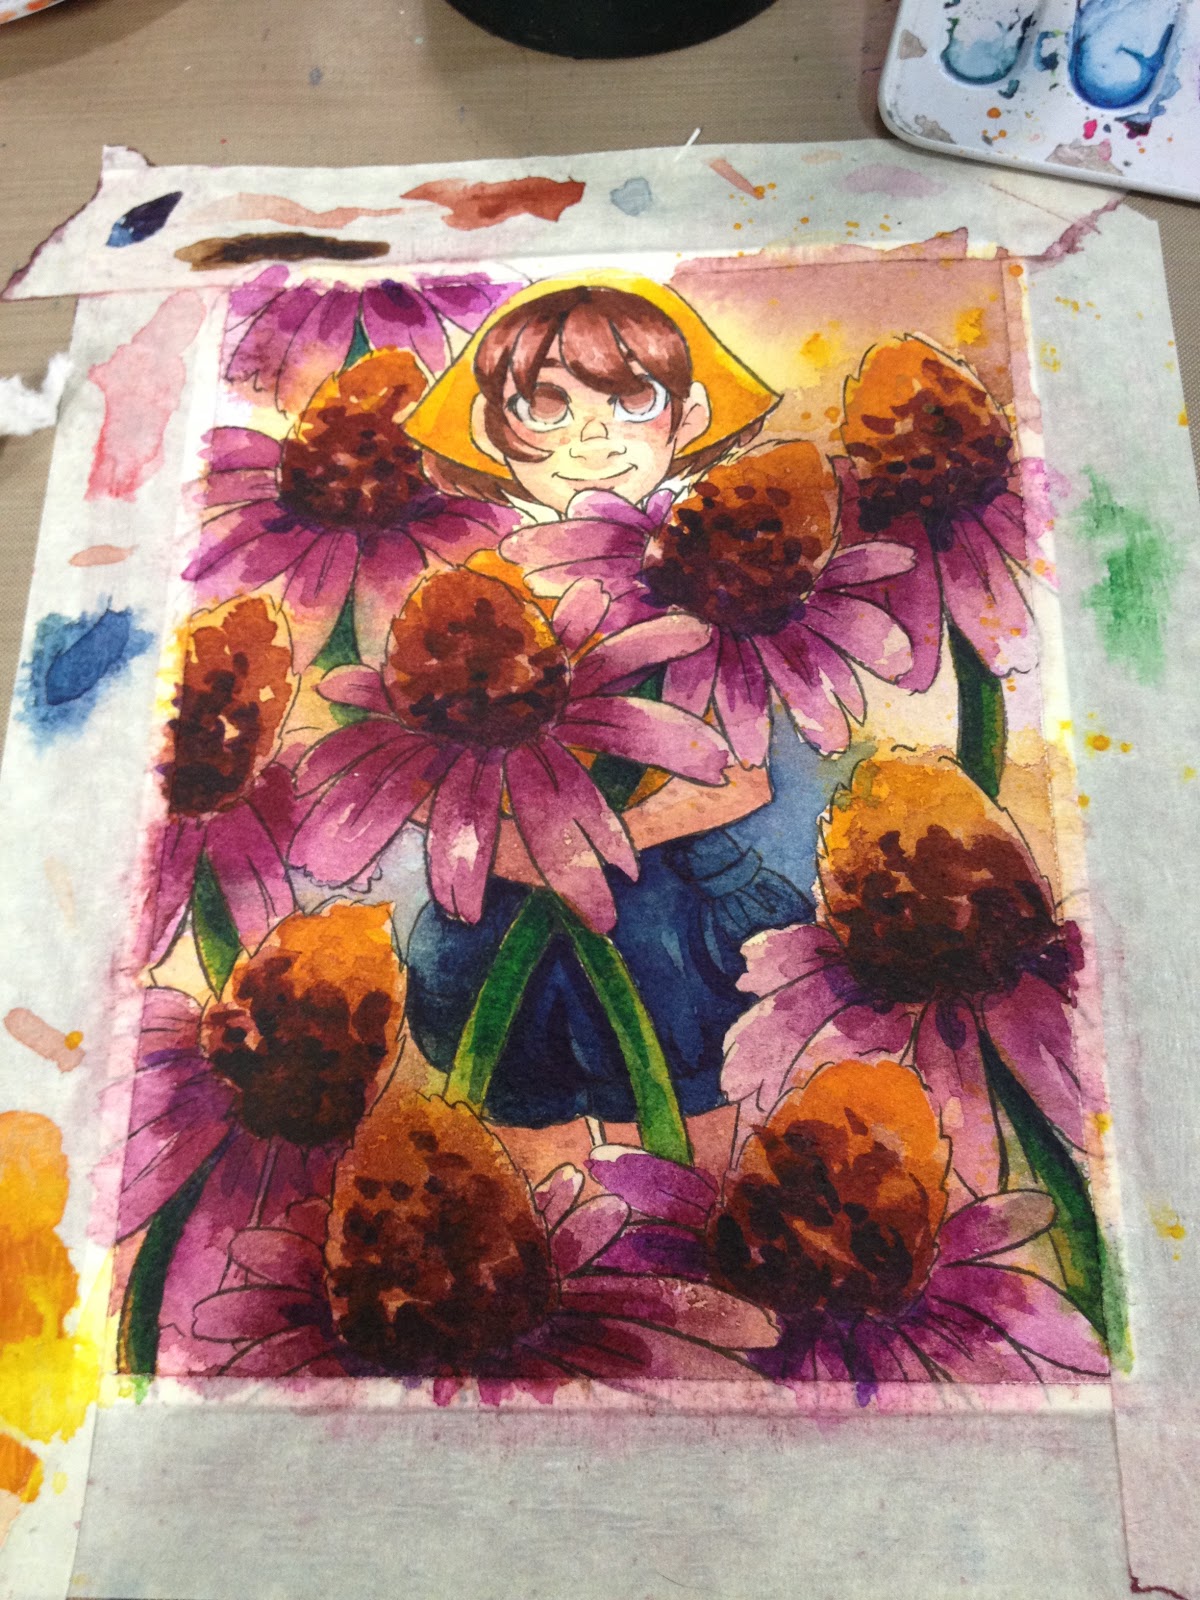
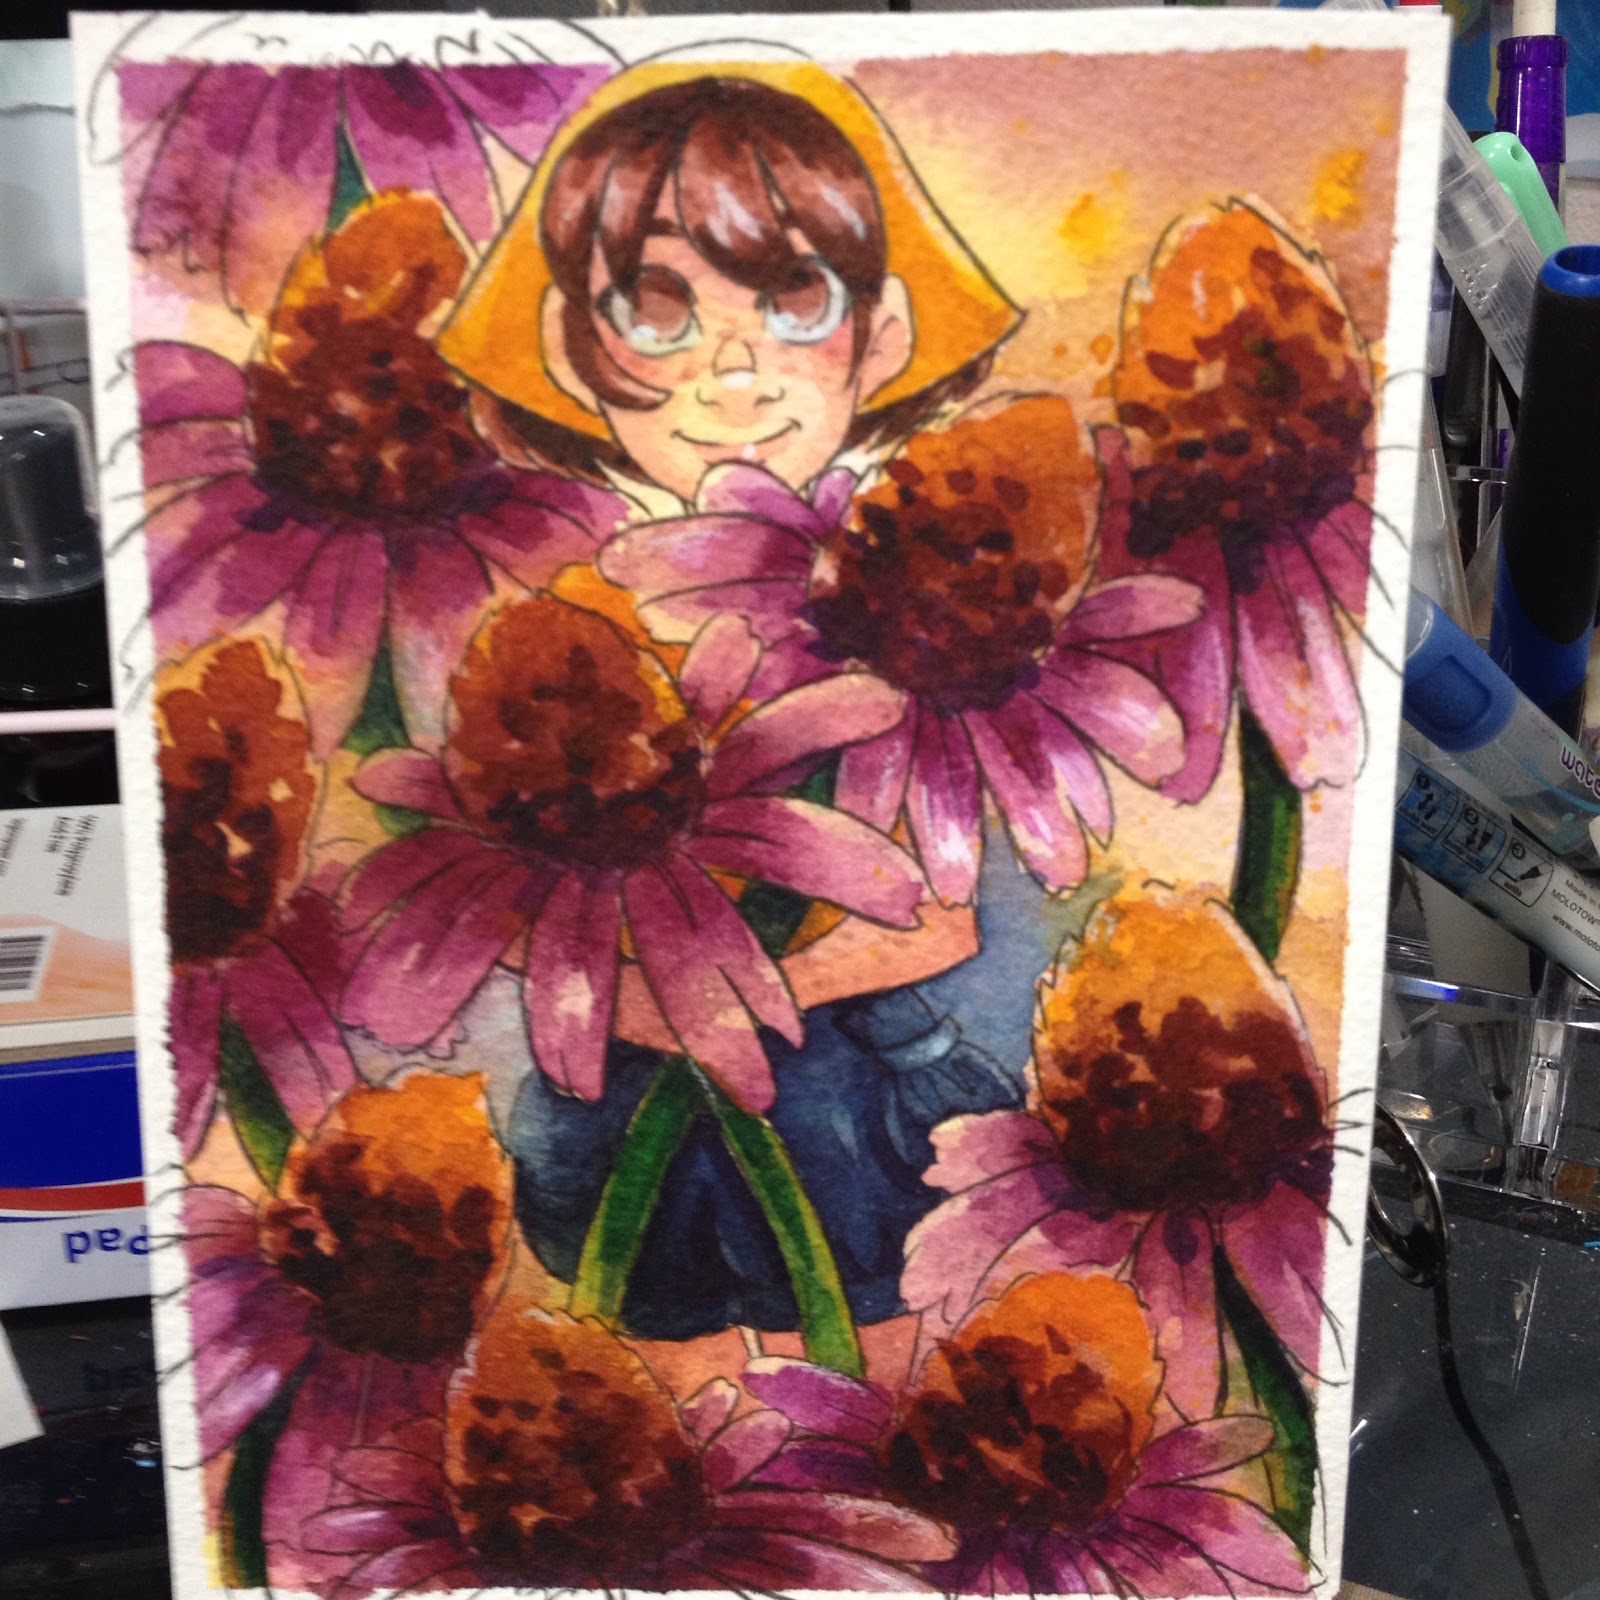
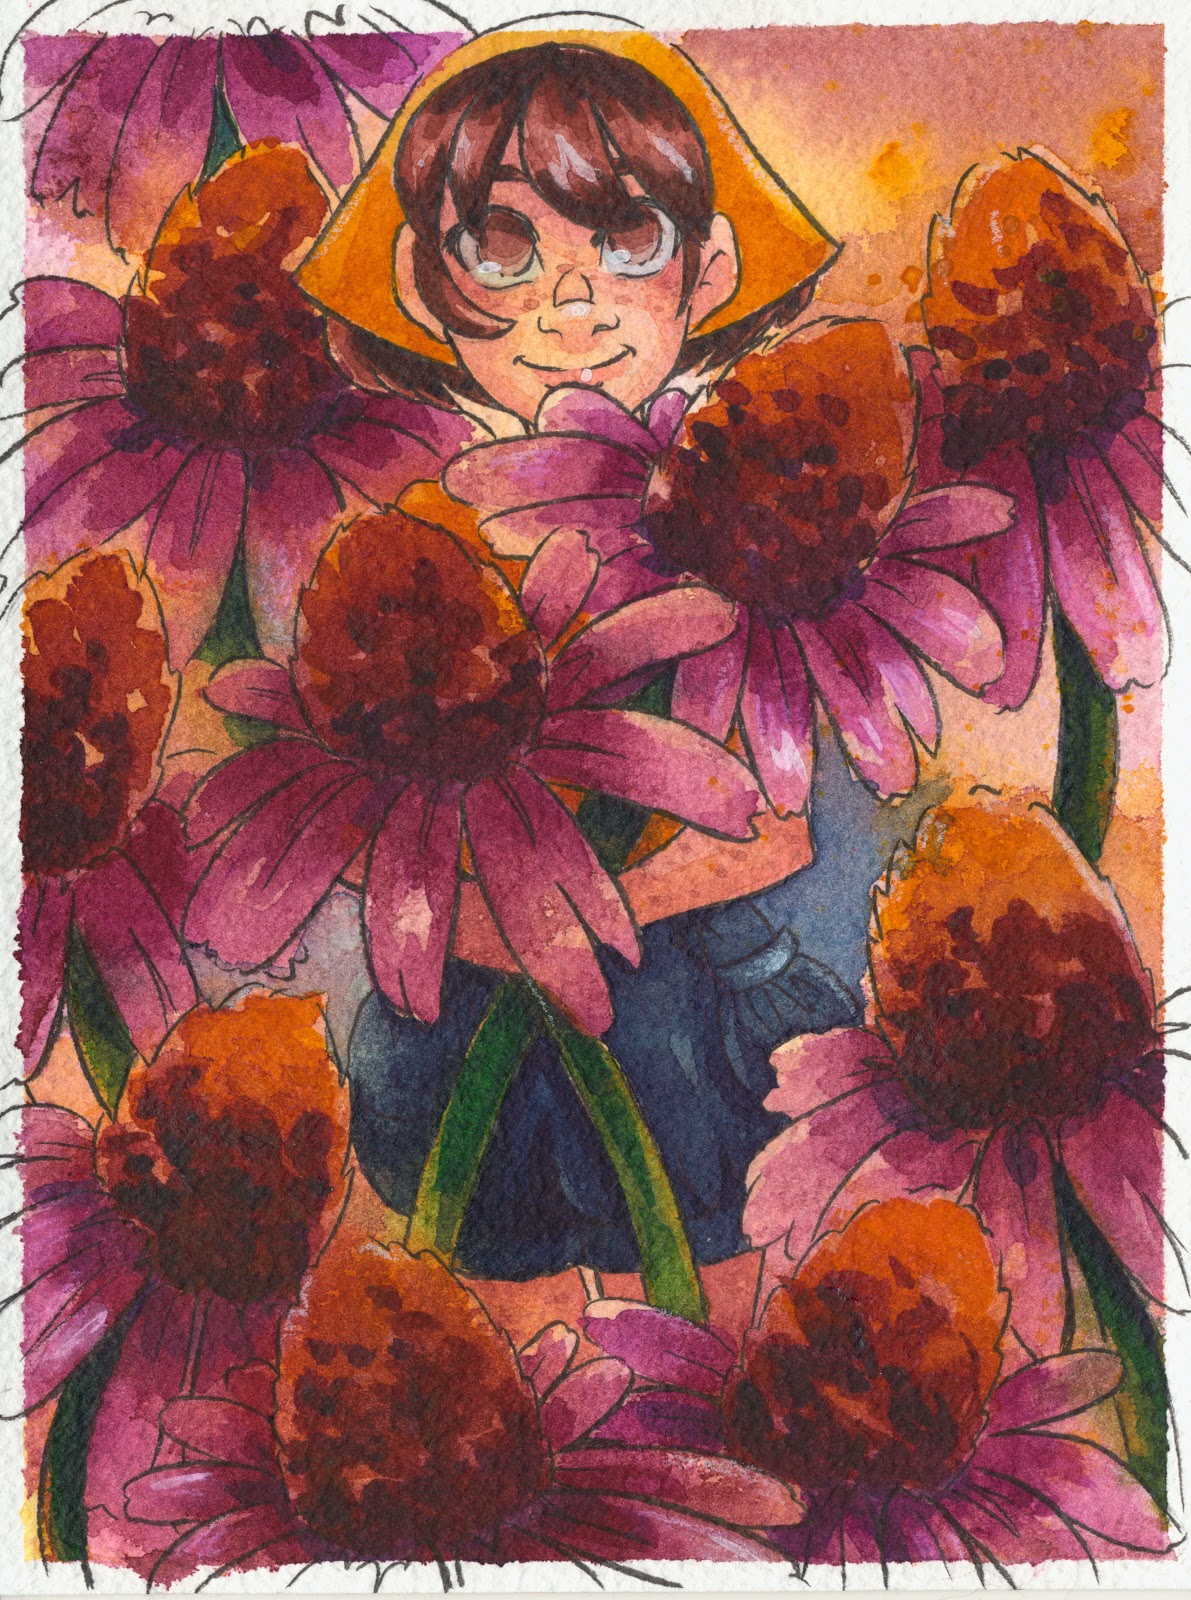
Starting Point for Tighter Watercolors
How It Works:
There are many variations on this method, from applying your watercolor wet into wet on the paper, then spraying with water for movement, to spraying your watercolors directly onto the paper!
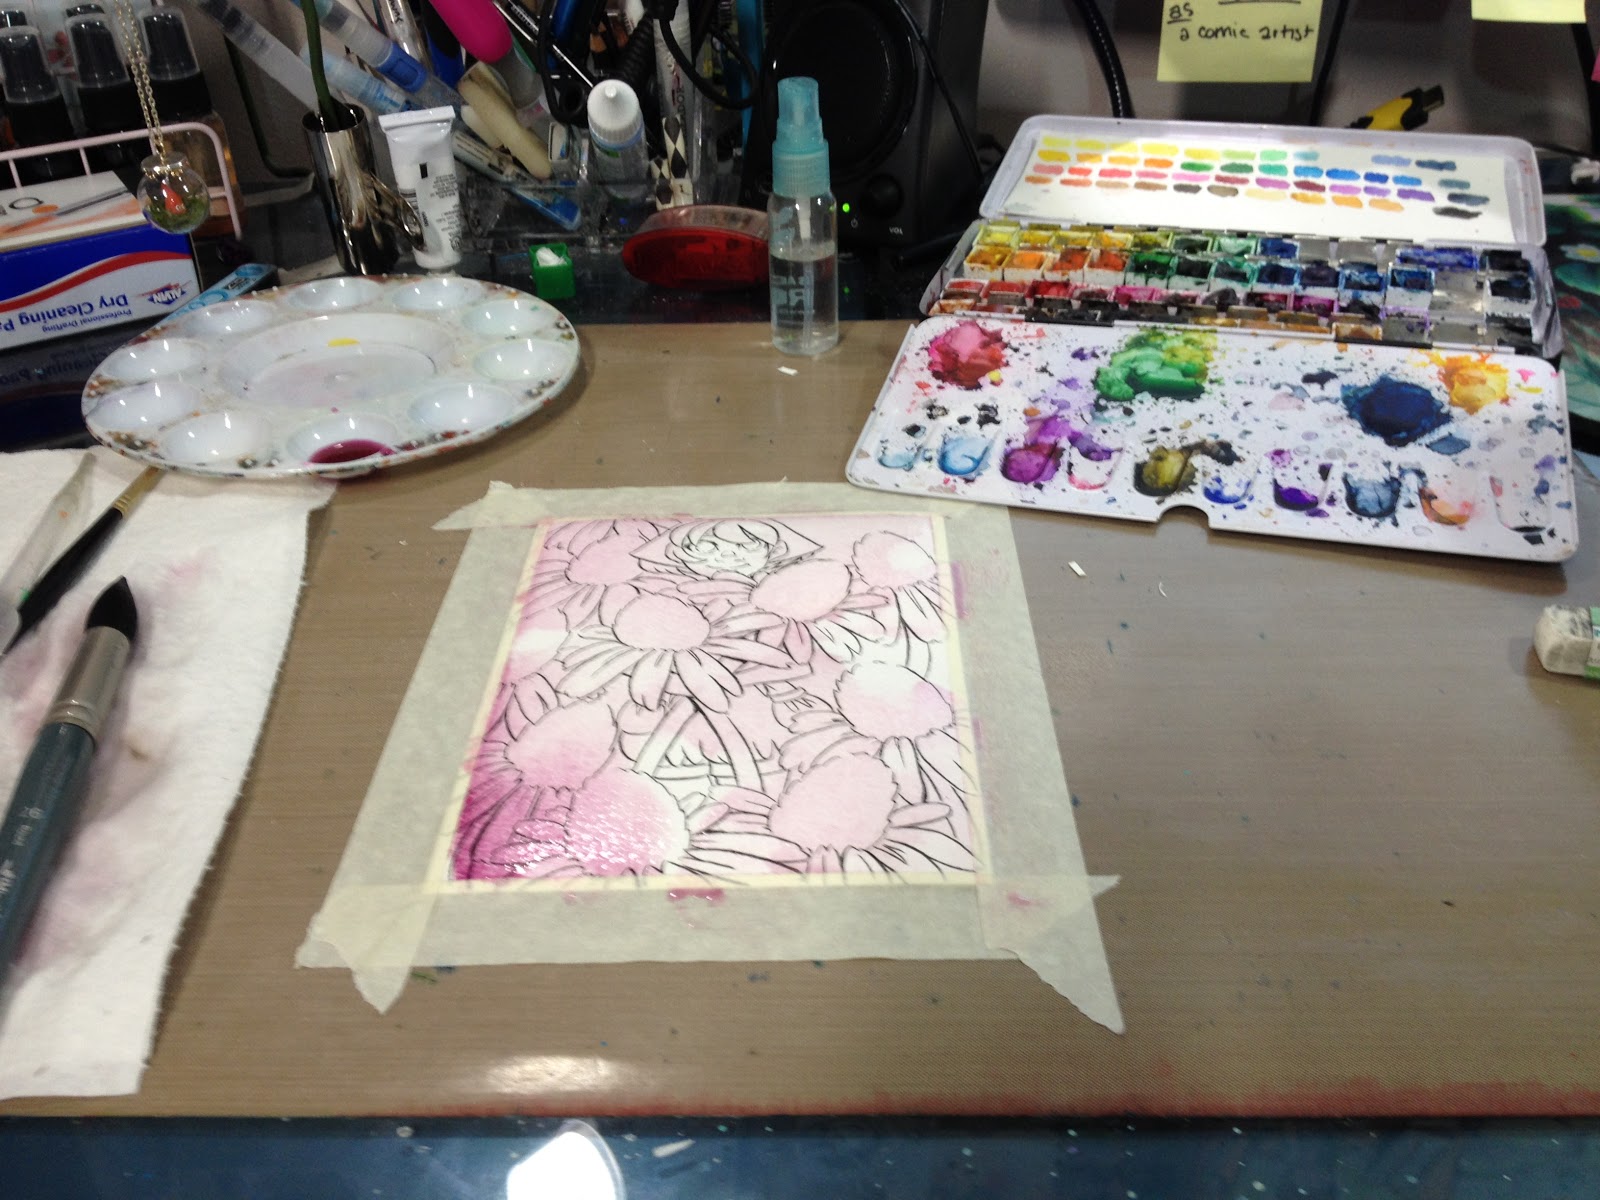
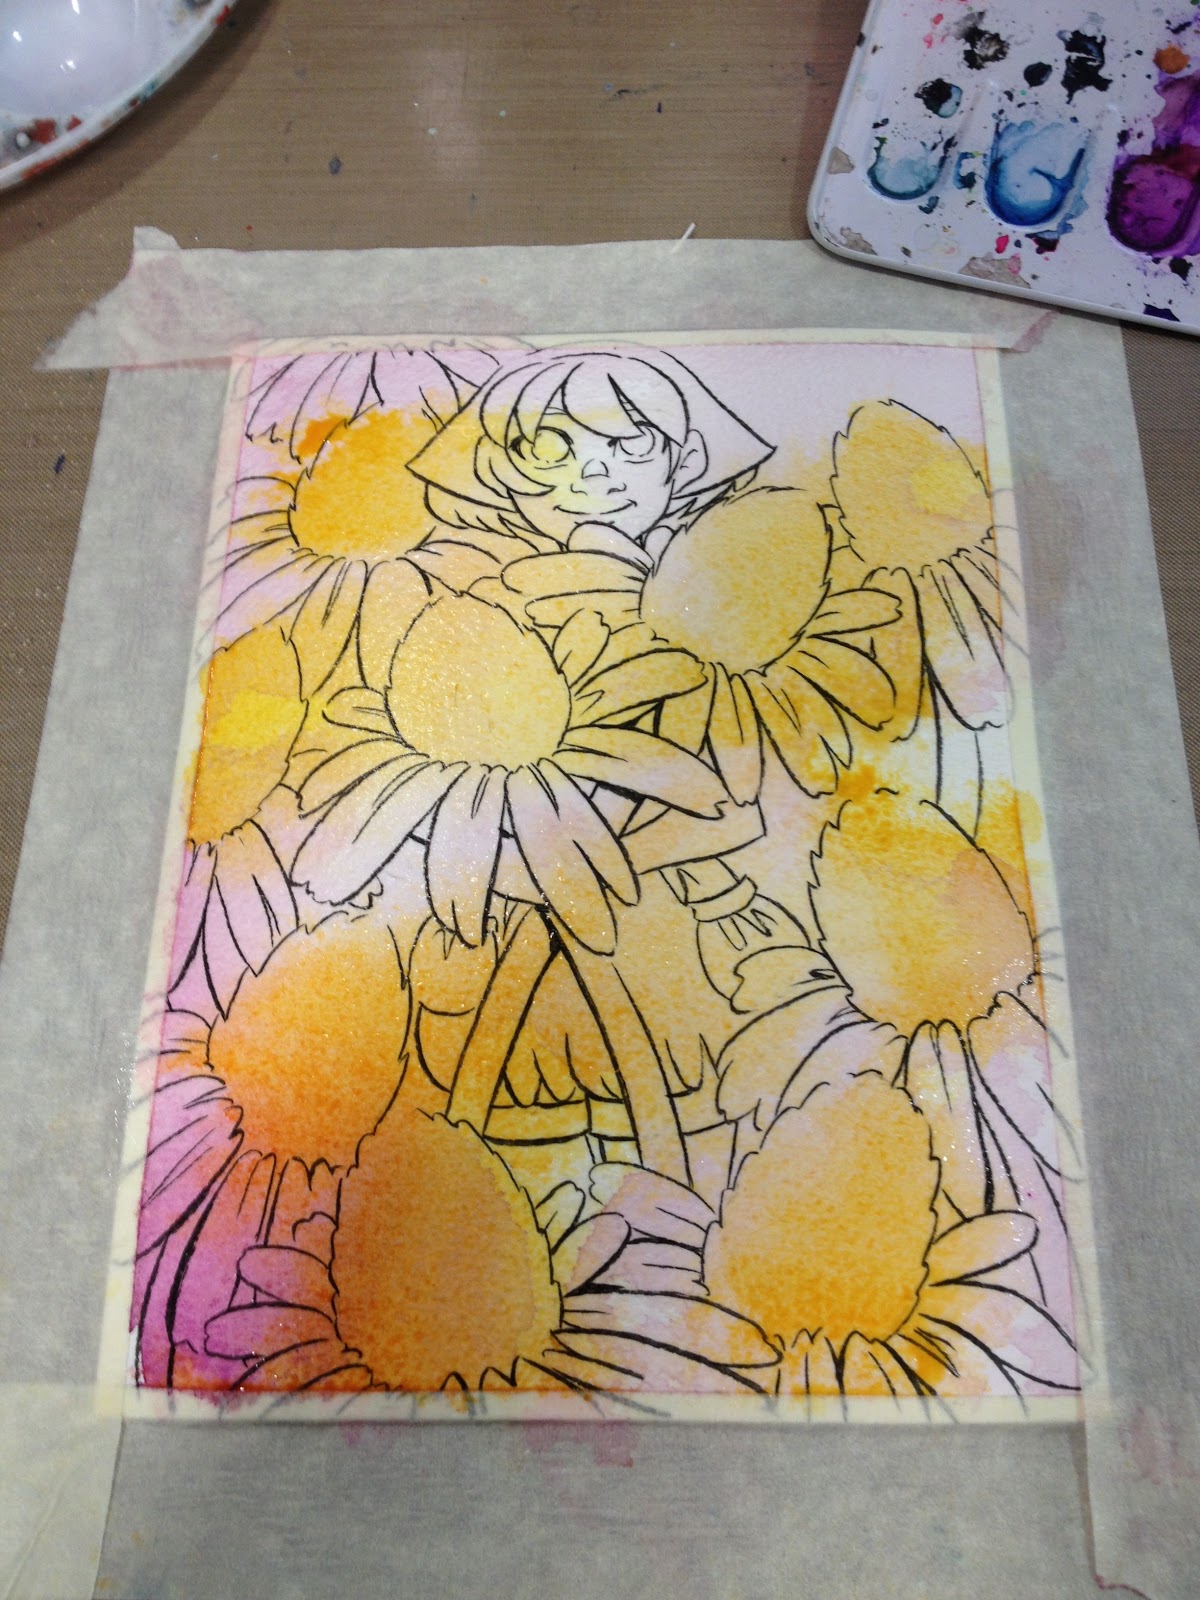
 |
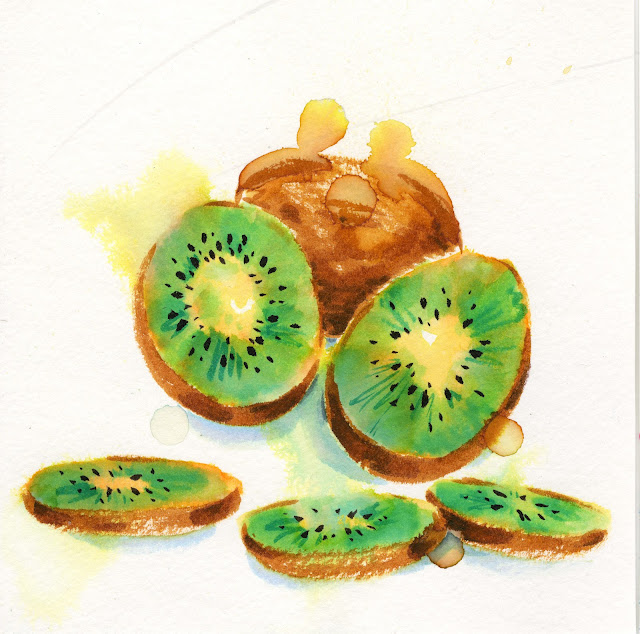
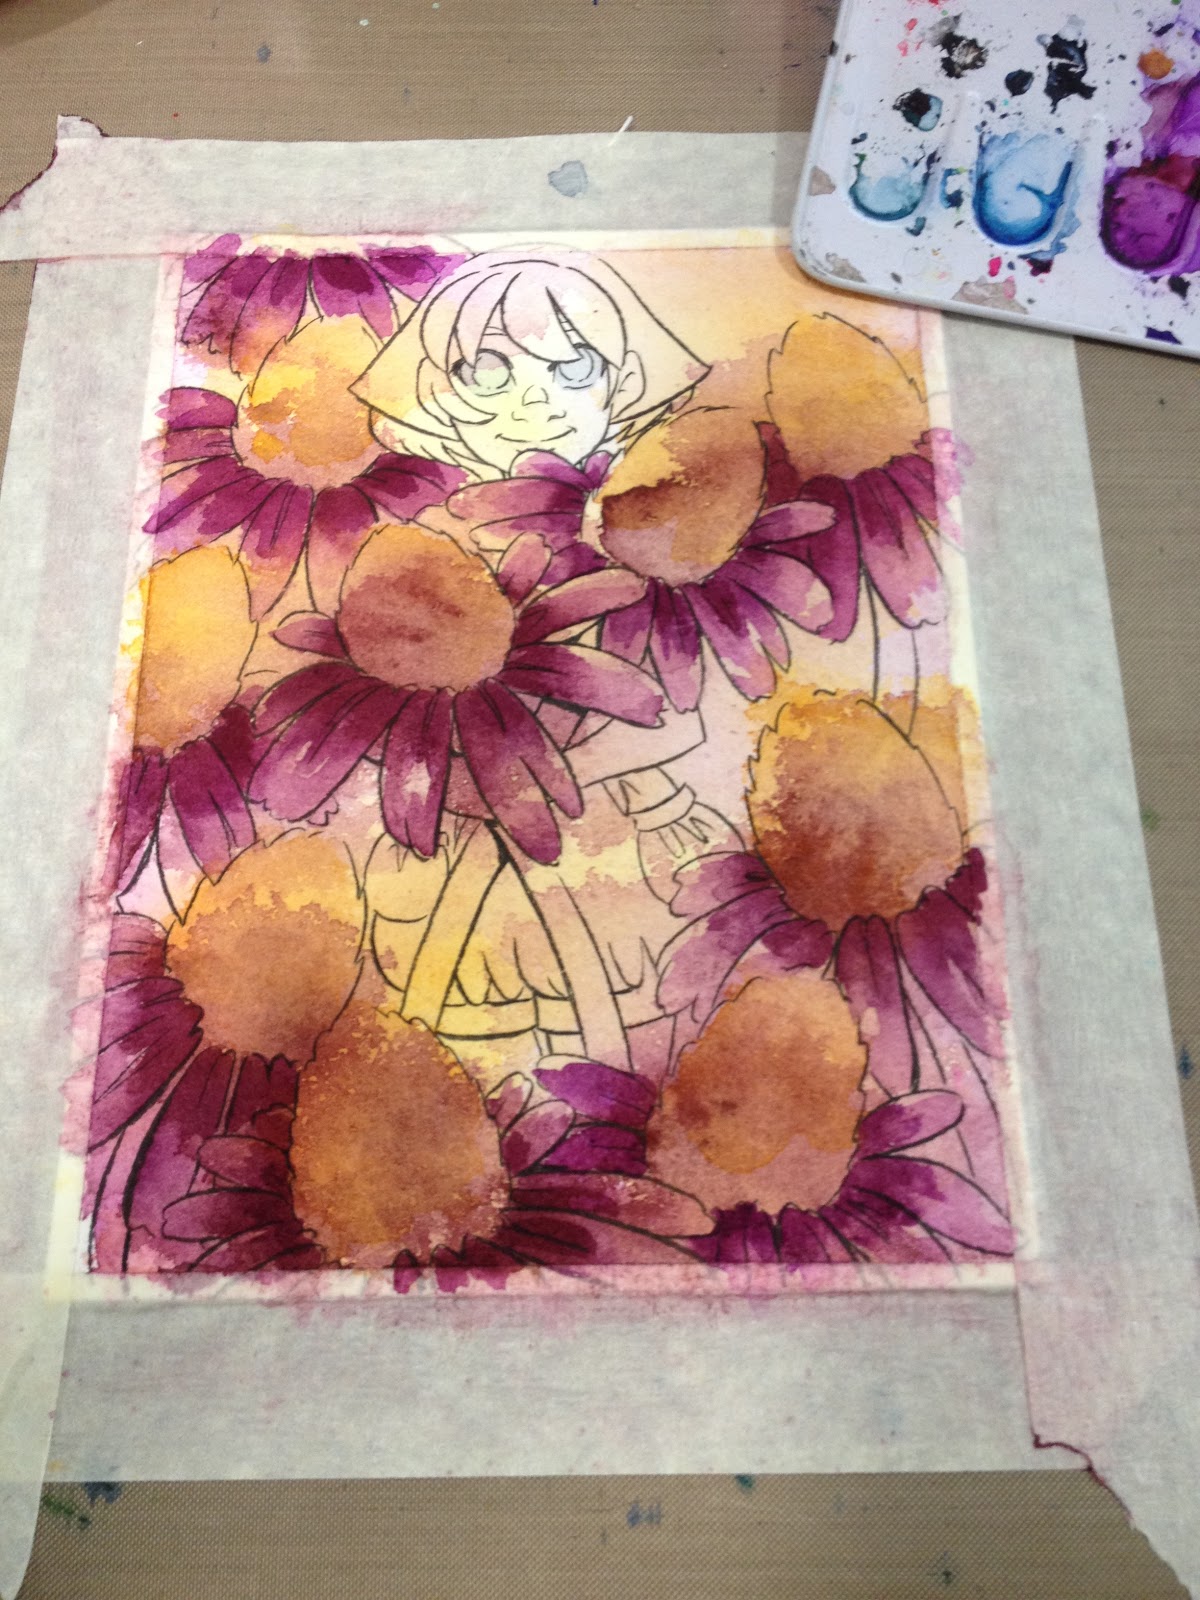
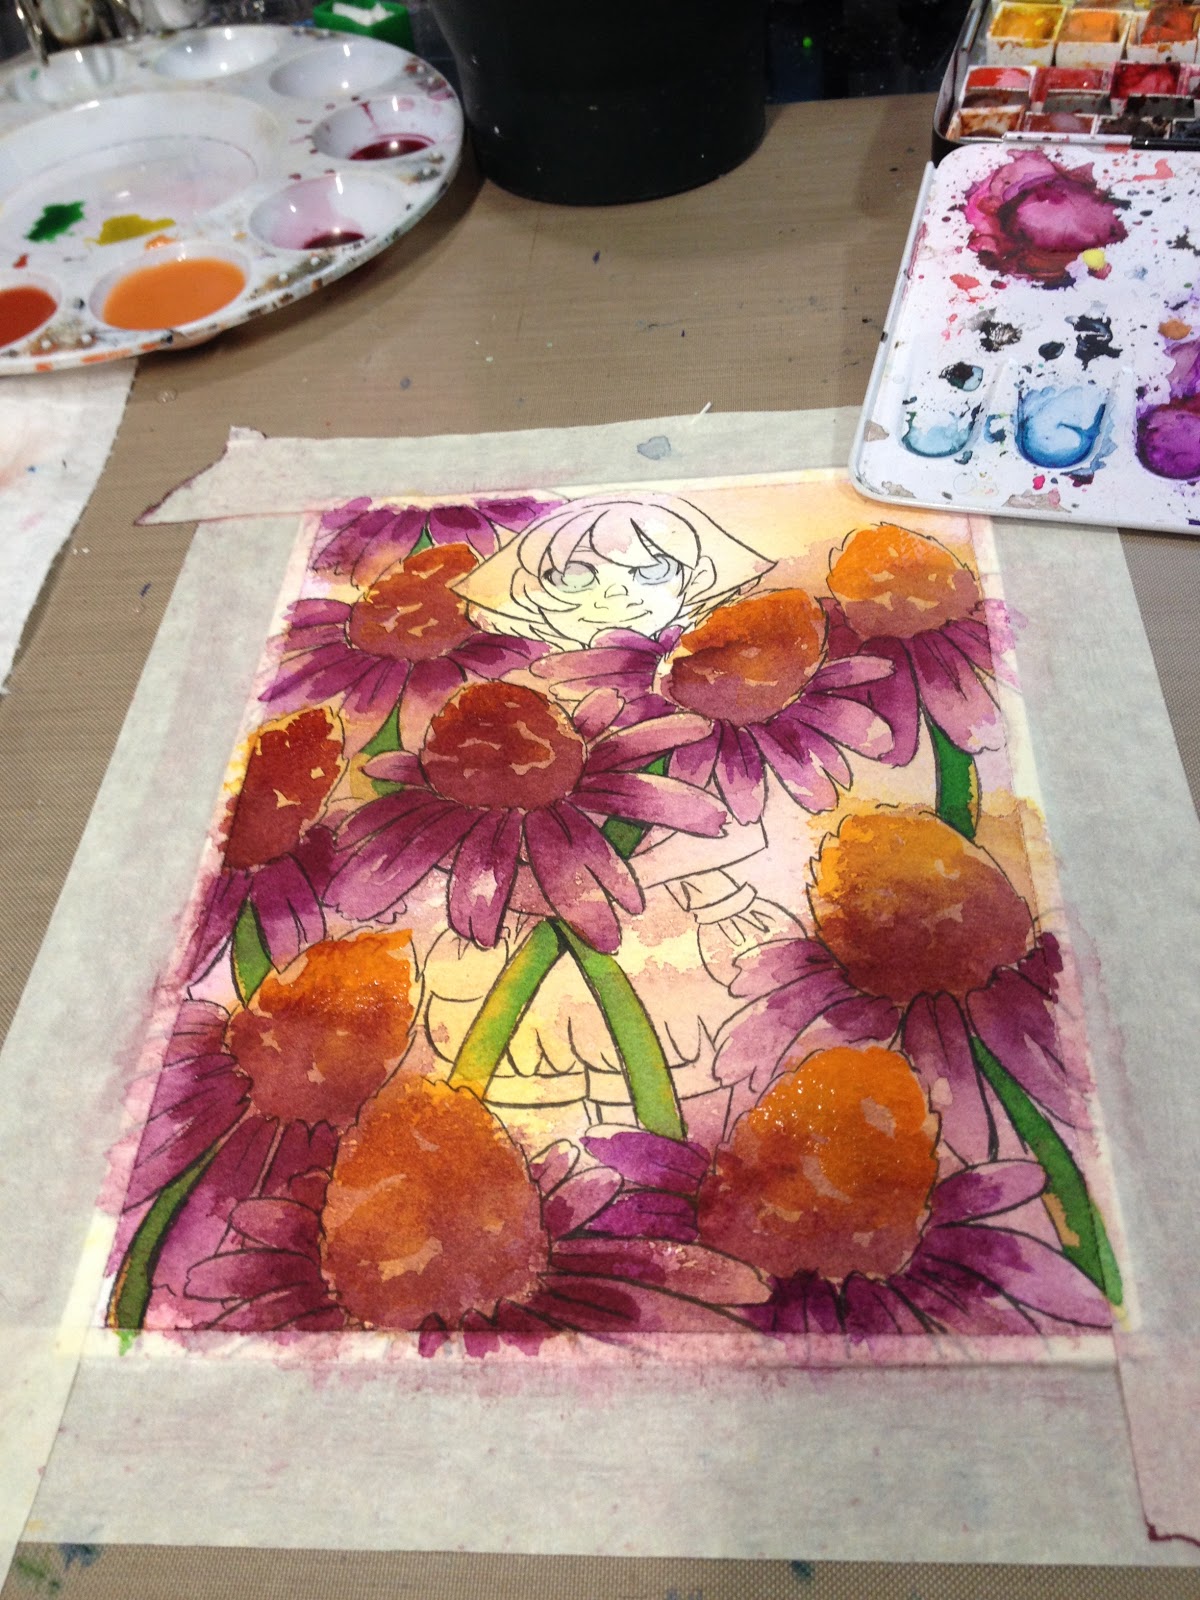
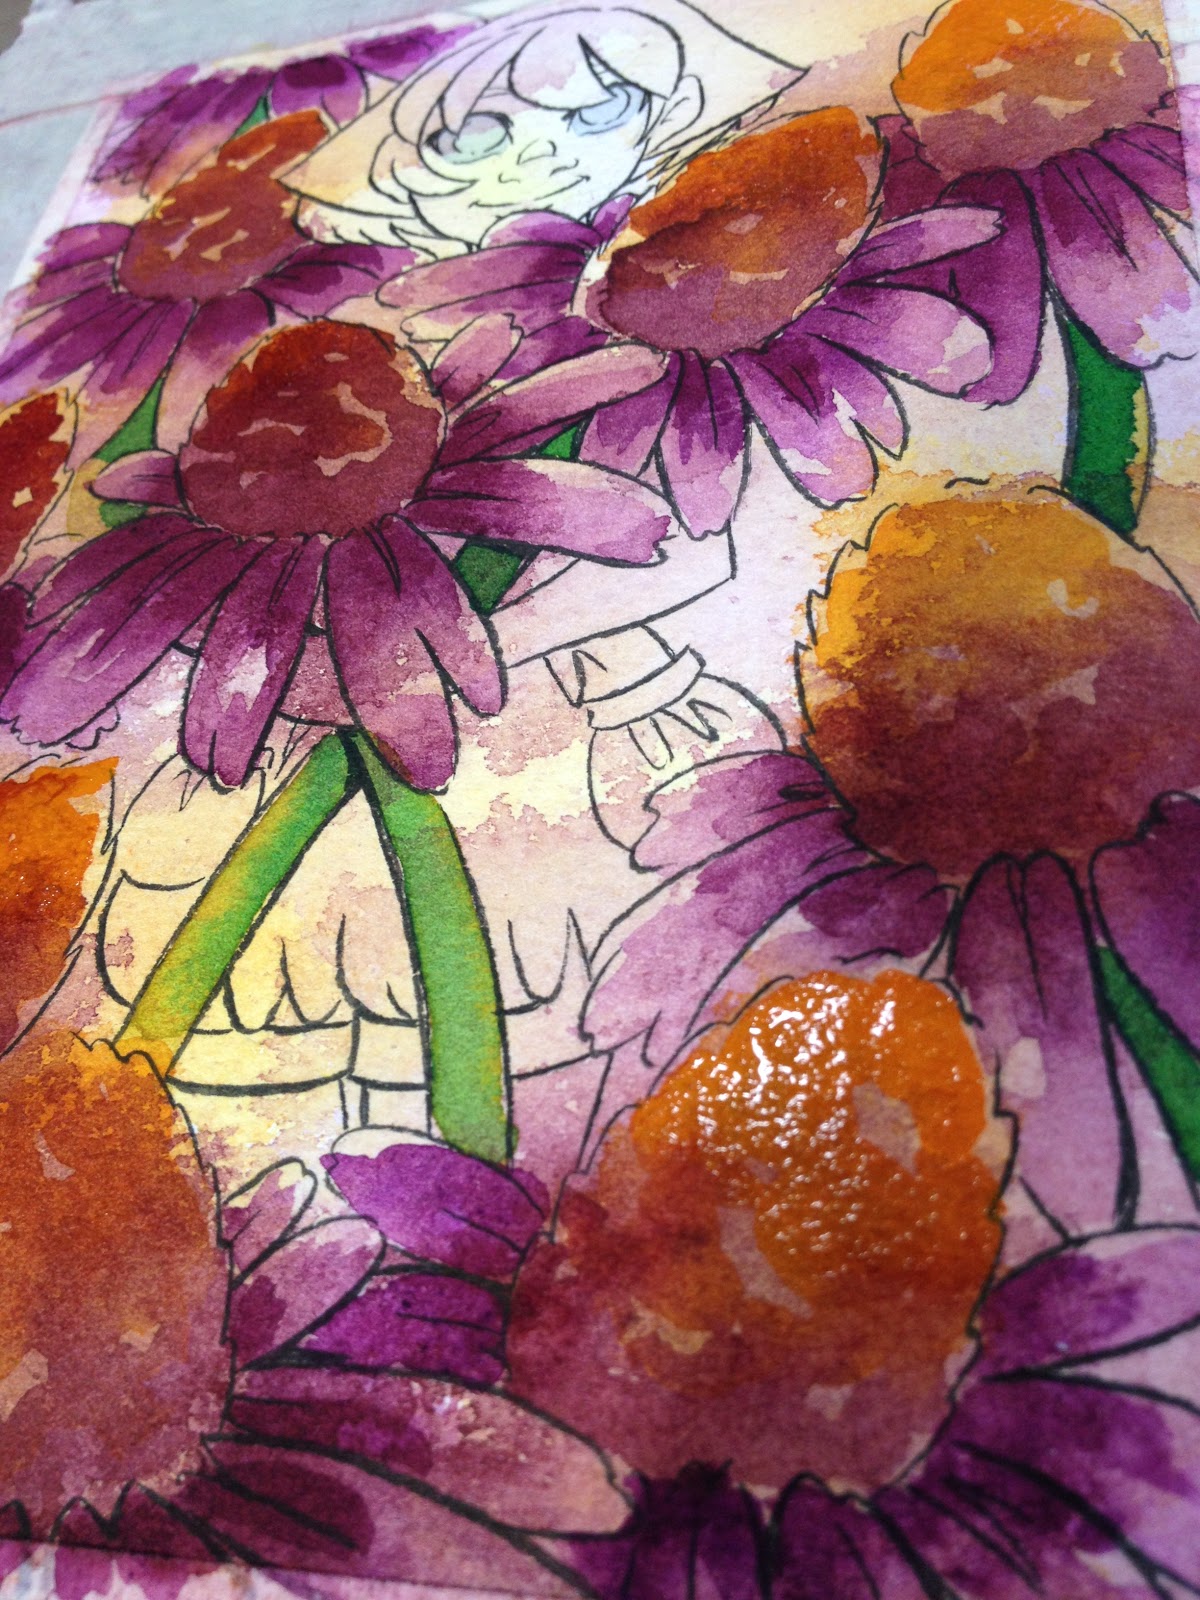
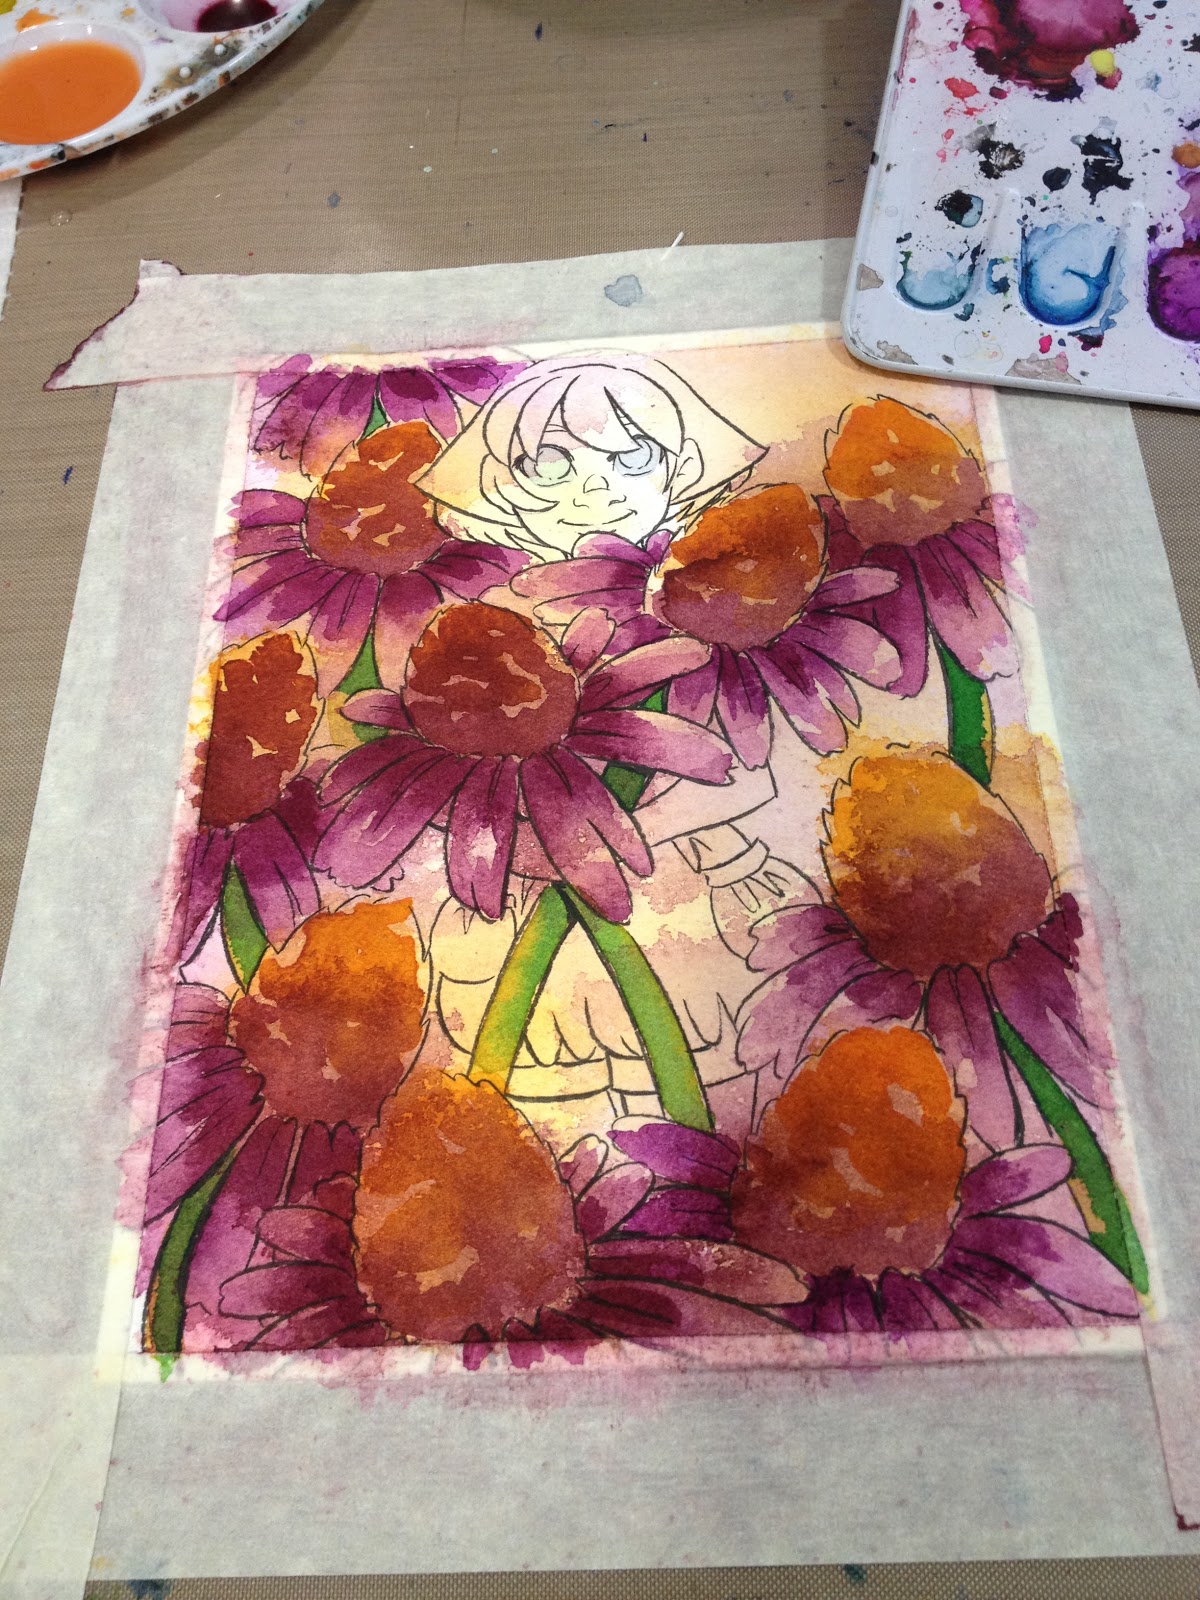
| Inked illustration on Winsor and Newton cellulose watercolor paper, sprayed paints, watercolor. |
For this technique, a bit of tube watercolor can be mixed with a spray bottle of water to create an instant watercolor spray, or you can use a spraybottle full of clean water to help push wet or semi-wet pigments around on your paper. For this technique, I really recommend working on heavier watercolor paper (at least 140lb) and SECURE YOUR PAPER. Cellulose and cotton rag papers will both work for this, but you may have better blending results with cotton rag paper.
Hidden in Flowers- Spray Techniques Tutorial Watercolor Basics

 |
| Inked illustration on Winsor and Newton cellulose watercolor paper, sprayed paints, watercolor. |
For Backgrounds and Atmosphere:
In this technique, sprays are mostly reserved for the background- to add interest to an otherwise boring background.
 |
| Qor Quinacridone Gold diluted in water and spritzed onto background. |
 |
| Winsor and Newton Payne's Grey+Indgo and Qor Quinacridone Gold. Quin gold was sprayed and used to dilute Payne's Grey+Indigo mix, Indigo mix and Payne's Grey allowed to drip freely. |
Using Sprays To Lift and Add Dynamism:
How it's done:
Sprays are utilized throught the process to move pigments around and to encourage wet into wet randomized blends.
I hope this post has inspired you to give spray techniques a try! Some are very simple, and some require a lot of practice to master, and some will continue to surprise you for years to come! Spray techniques are a great way to loosen up stiff painting styles, and add a fun element to your watercolor illustrations.
This post was brought to you thanks to the generosity of my Artnerds on Patreon!

Comments
Post a Comment